How to make compost: carbon to nitrogen ratio, hot composting, cold composting, and composting tips.
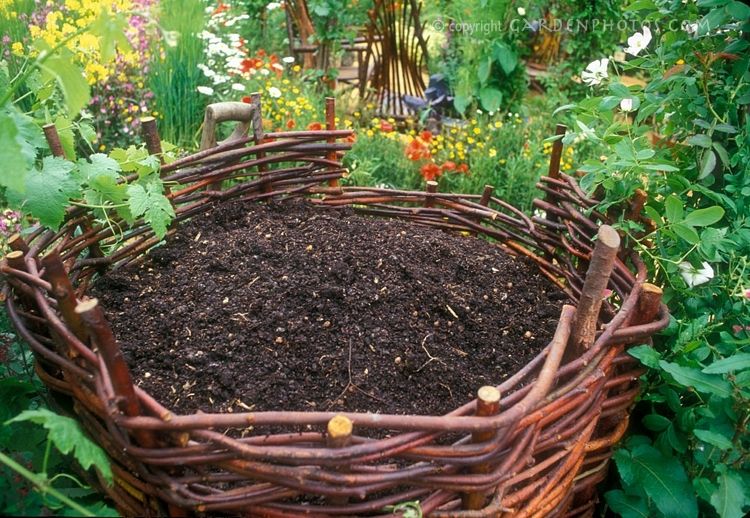
How to make compost may feel overwhelming at first, but once you understand basic techniques and the art of composting - it's pretty simple.
Honestly, figuring out the carbon to nitrogen ratio is what tripped me up for a long time!
Thankfully, learning how to make compost won't have to be that complicated for you. If you want to grow food, you need to learn how to make compost!
Compost is the life force of almost every successful garden that I know of and to be frank - it's way too hard to grow nutrient dense food without quality compost.
I learned that the hard way, when we built our market garden in soil that was primarily sandy which made it very difficult to grow our crops.
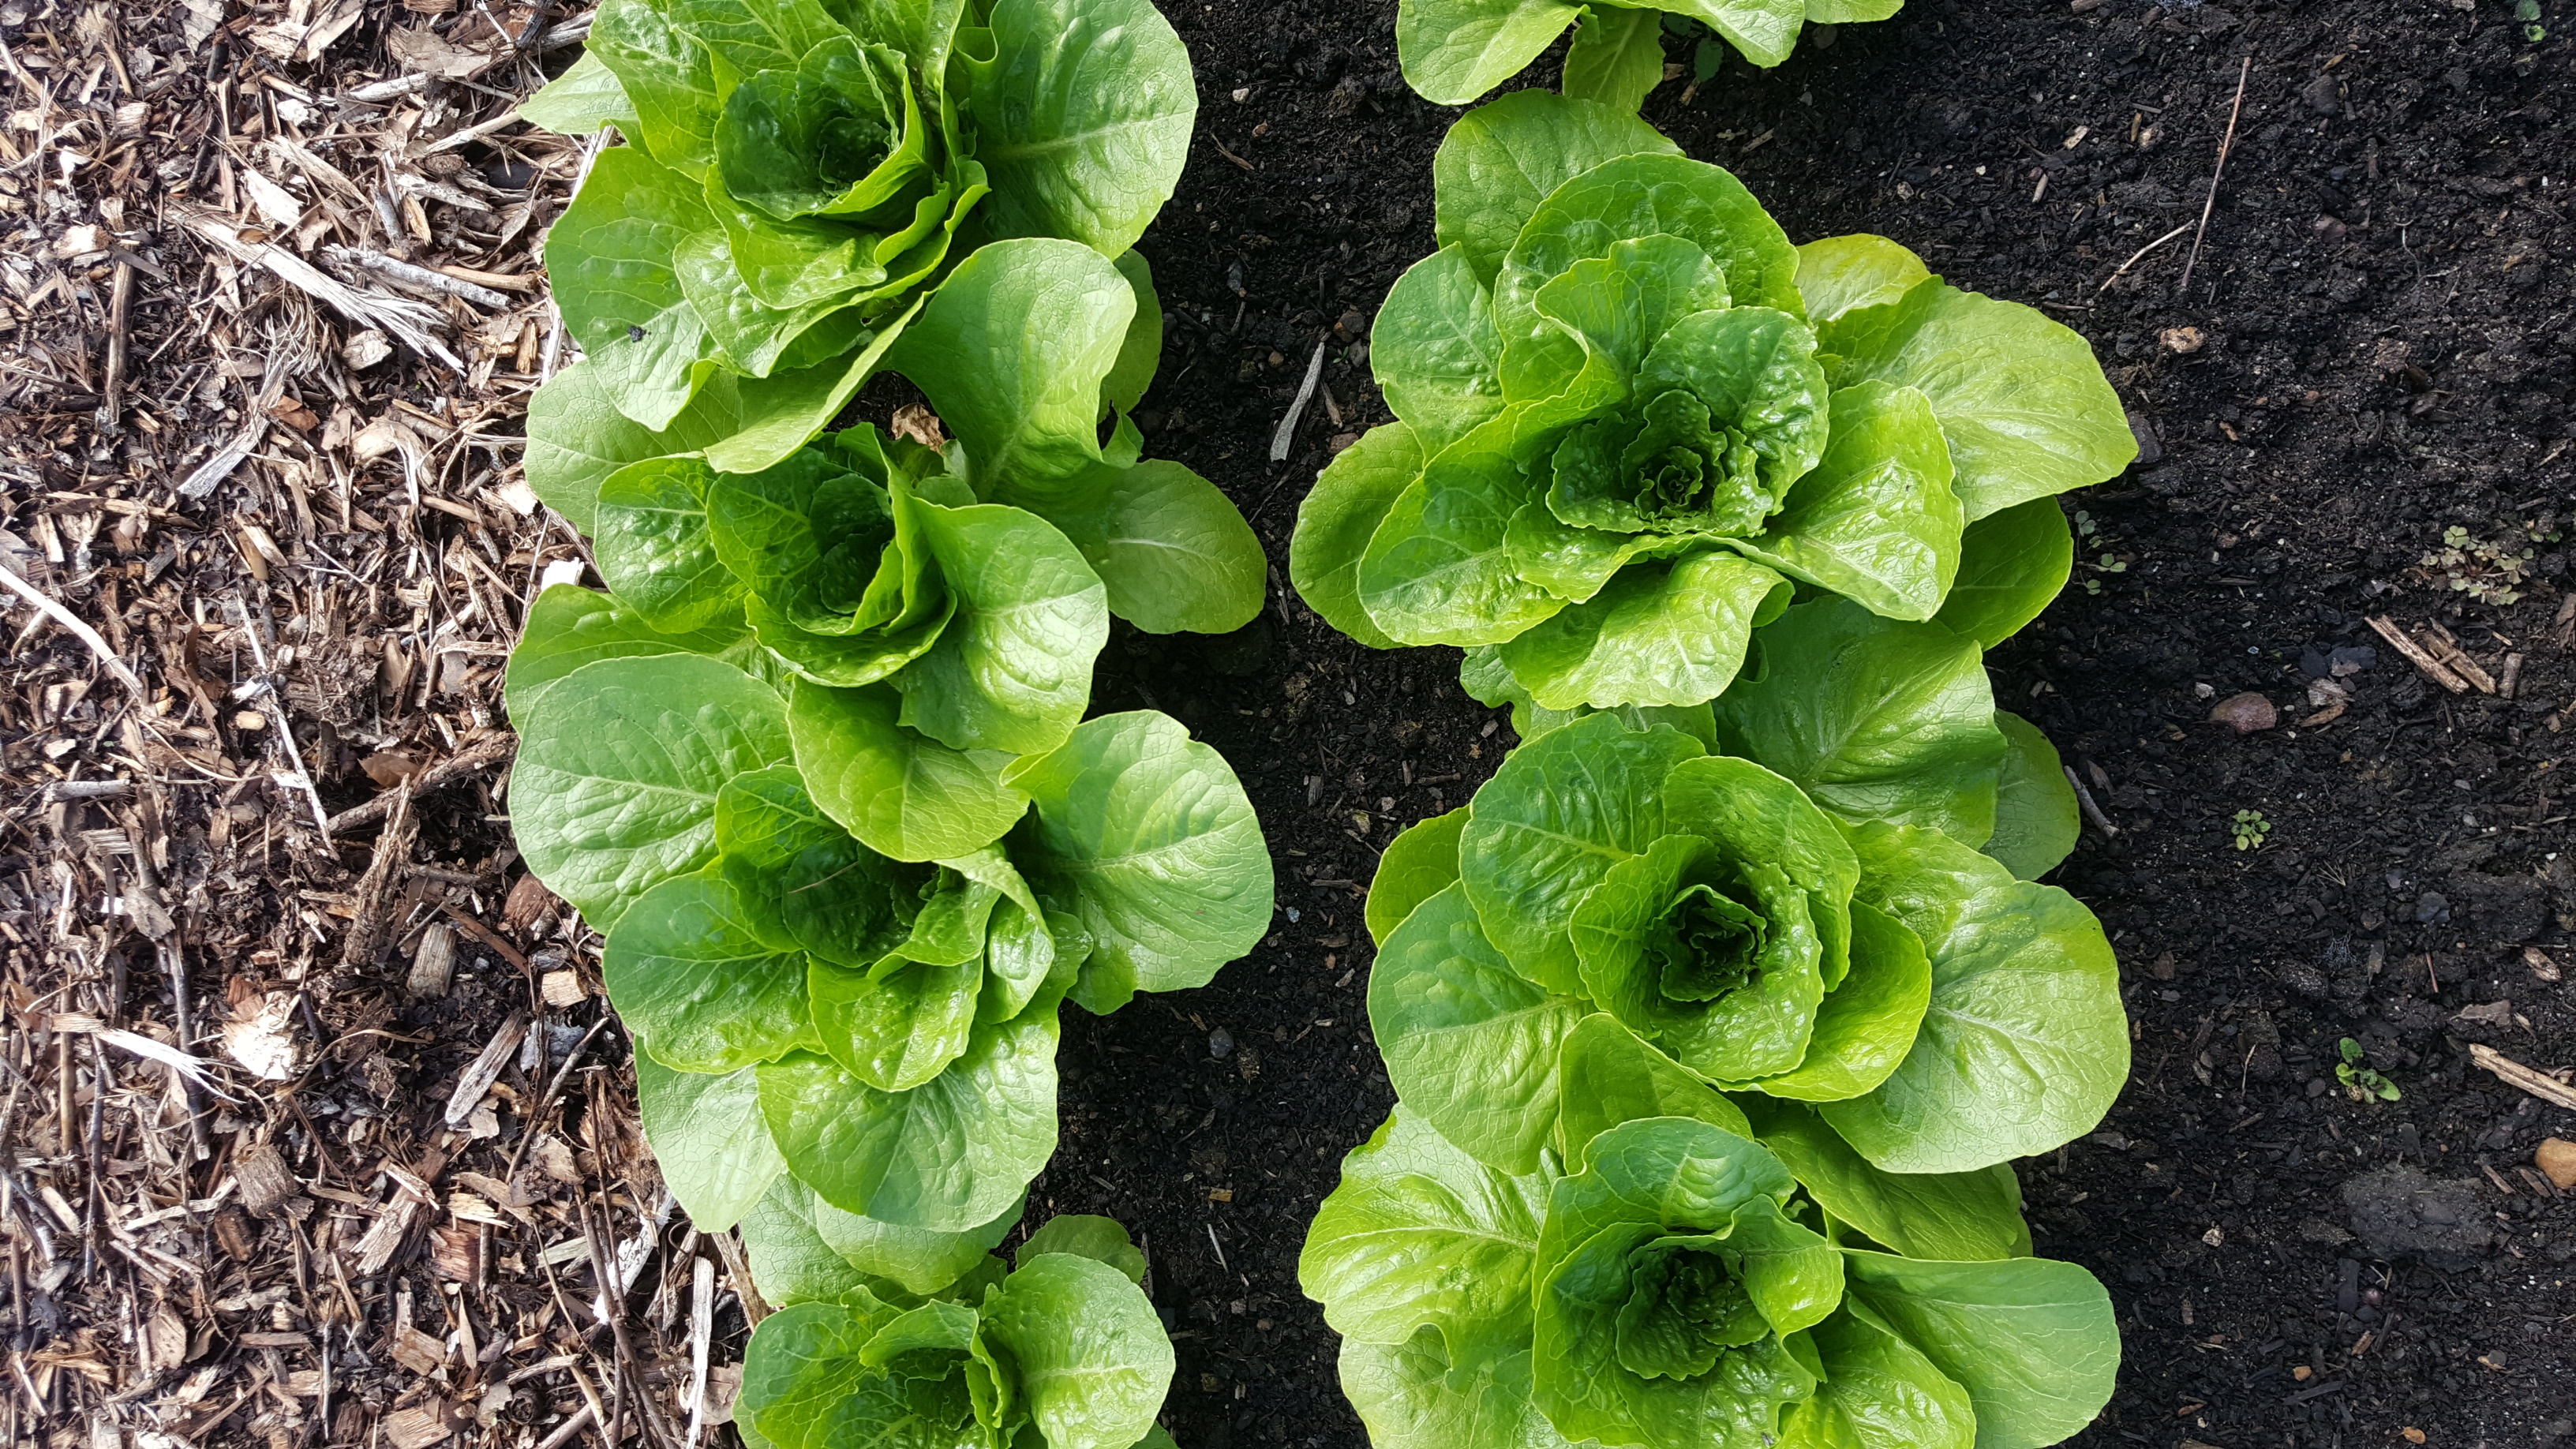
However, one year when we had access to compost that contained dairy cow manure, we grew a lot of lettuce.
The lettuce we grew that year was absolutely beautiful!
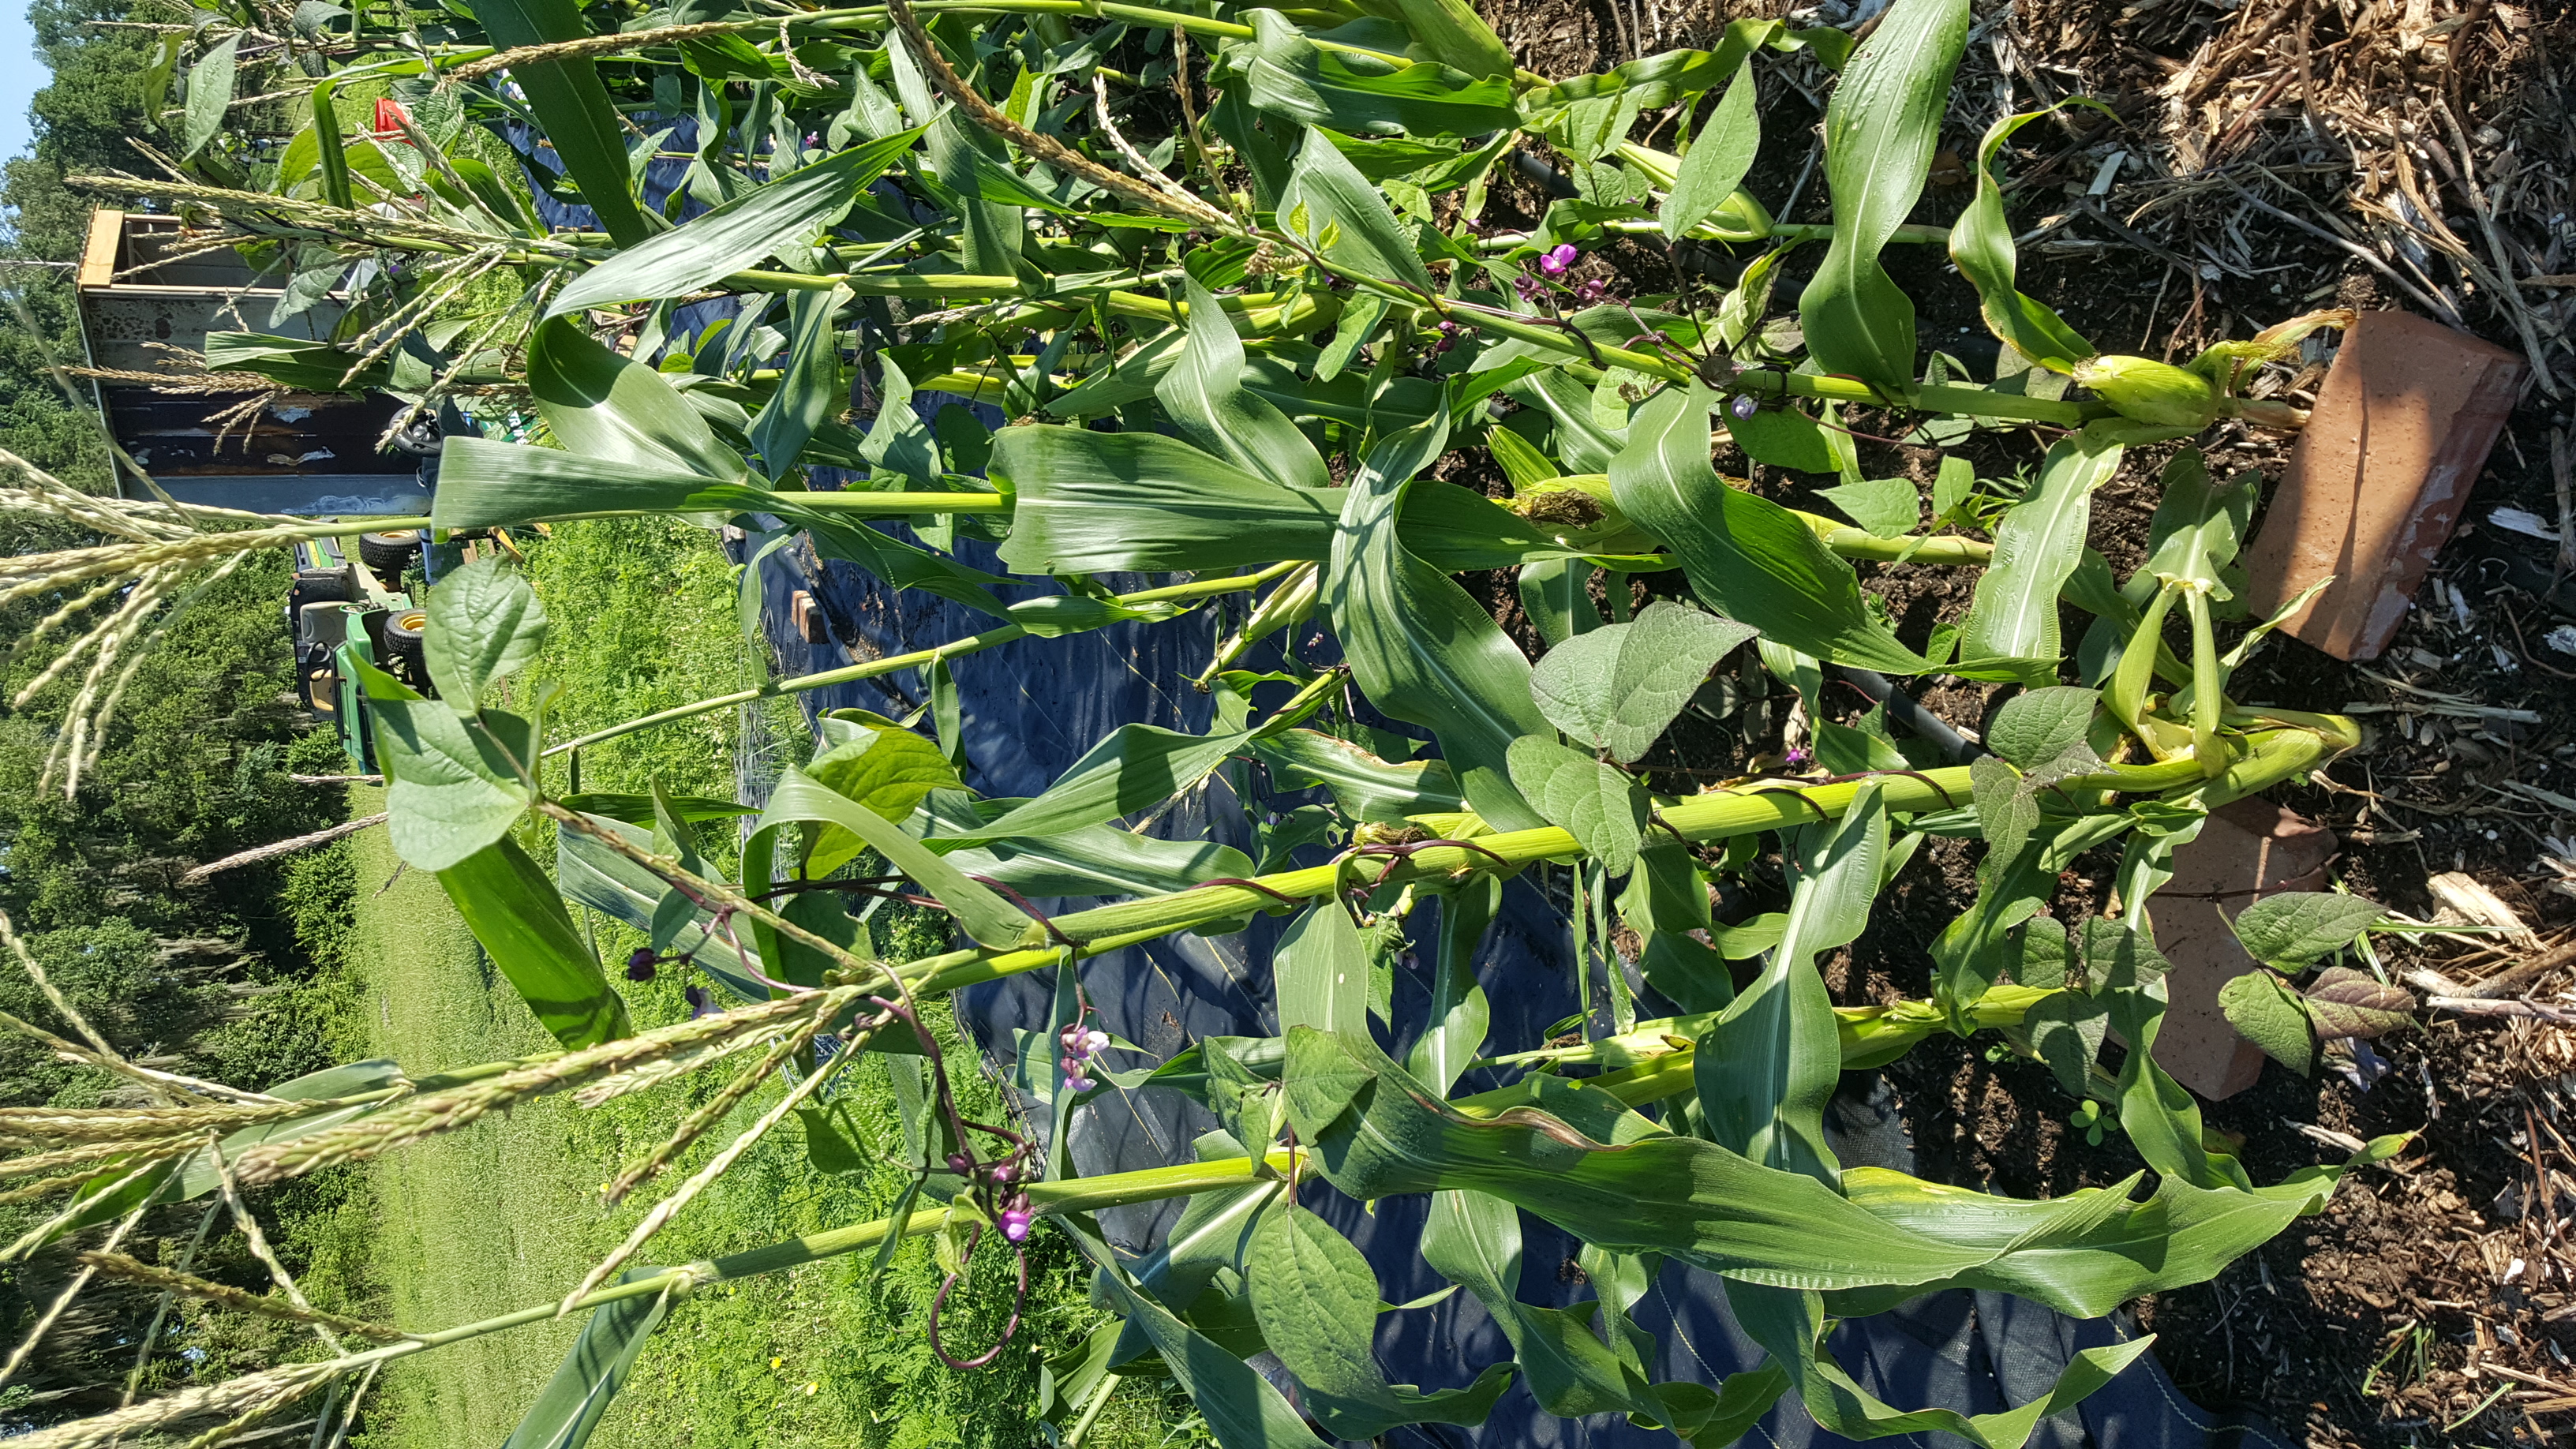
This is corn we grew in another year when we only had access to compost
made from forest wastes that was not completely broken down.
Corn is a heavy feeder, the result was stunted growth and a low corn yield that we mainly fed to chickens.
Luckily, we did have access to a lot of wood chips and garden refuse, so we would make a big pile of compost and just let it break down for months.
Sadly, it seemed like we never had enough mature compost for our market garden, but kept expanding the garden anyway.
That set our market garden back and made it harder to grow food which created a lot of stress for us.
Practical reasons why you should learn how to make compost.
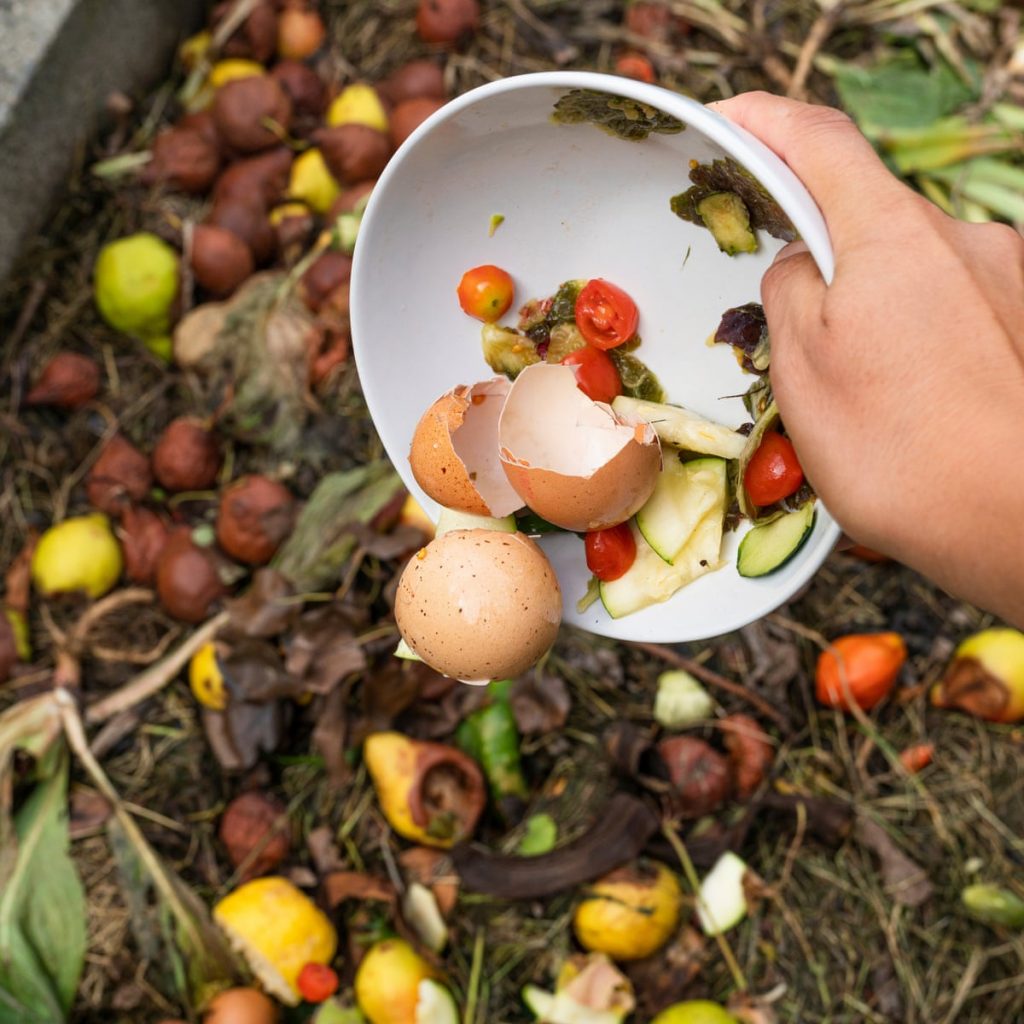
Learning how to make compost is a great way to use your kitchen wastes, yard wastes, garden wastes, and even household wastes.
You can transform your wastes (that would have just been thrown away) into compost.
You can use compost in potting soil, on your garden beds, around your trees, on your flower beds, and even sprinkle compost on your lawn.
Did you know that compost is not fertilizer?
Most think that compost is a great fertilizer for plants and I was also guilty of thinking that thought.
What compost is actually doing is feeding the soil which builds up its structure and supports micro-organisms living in soil who, in turn, make nutrients available to the plants.
Scary reason why you should learn how to make compost!
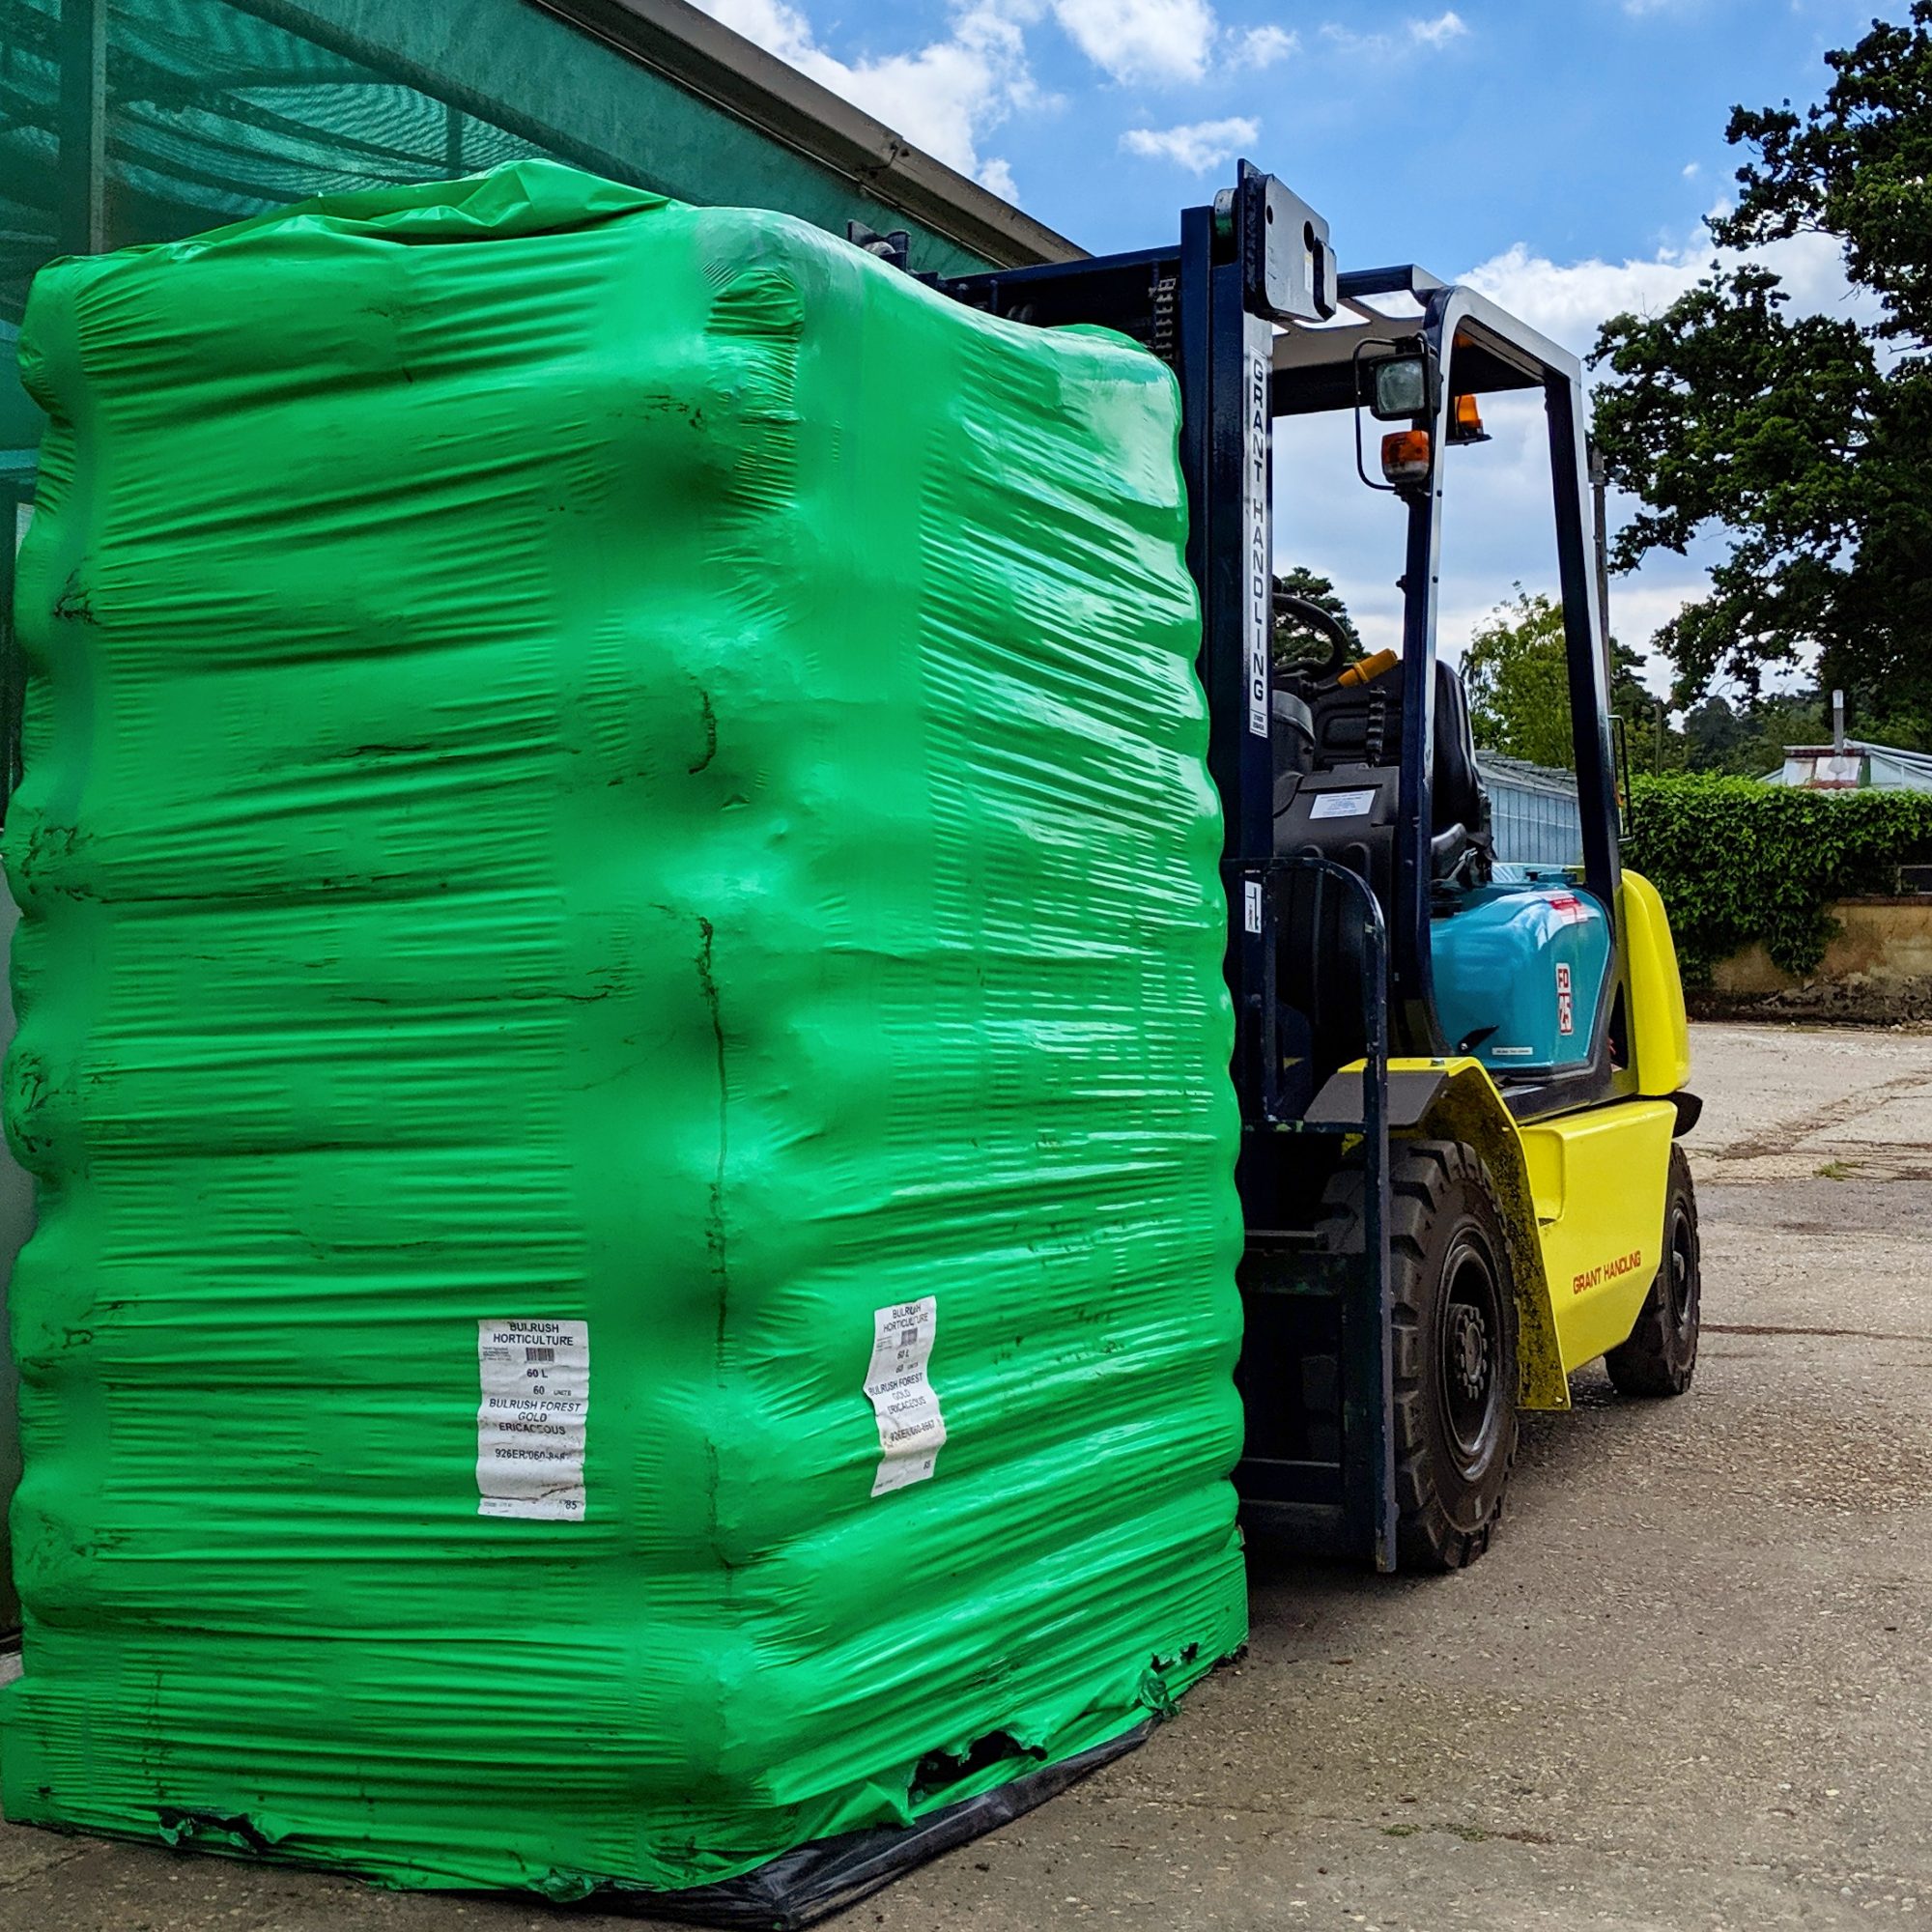
Over the past few years, there's been a problem with buying compost. That's commercial compost and even compost from organic sources.
Some composts contain herbicides that can't be broken down during composting and have harmed people's gardens.
Forever chemicals may have made their way into composts and these chemicals are also resistant to the composting process.
Be aware that bagged composts may not contain any life! This can be due to the overheating of the compost pile which can kill all of the micro-organisms.
That's why it's important to learn how to make compost yourself. Then you will have control over the ingredients, temperature, and how much life is left in the compost.
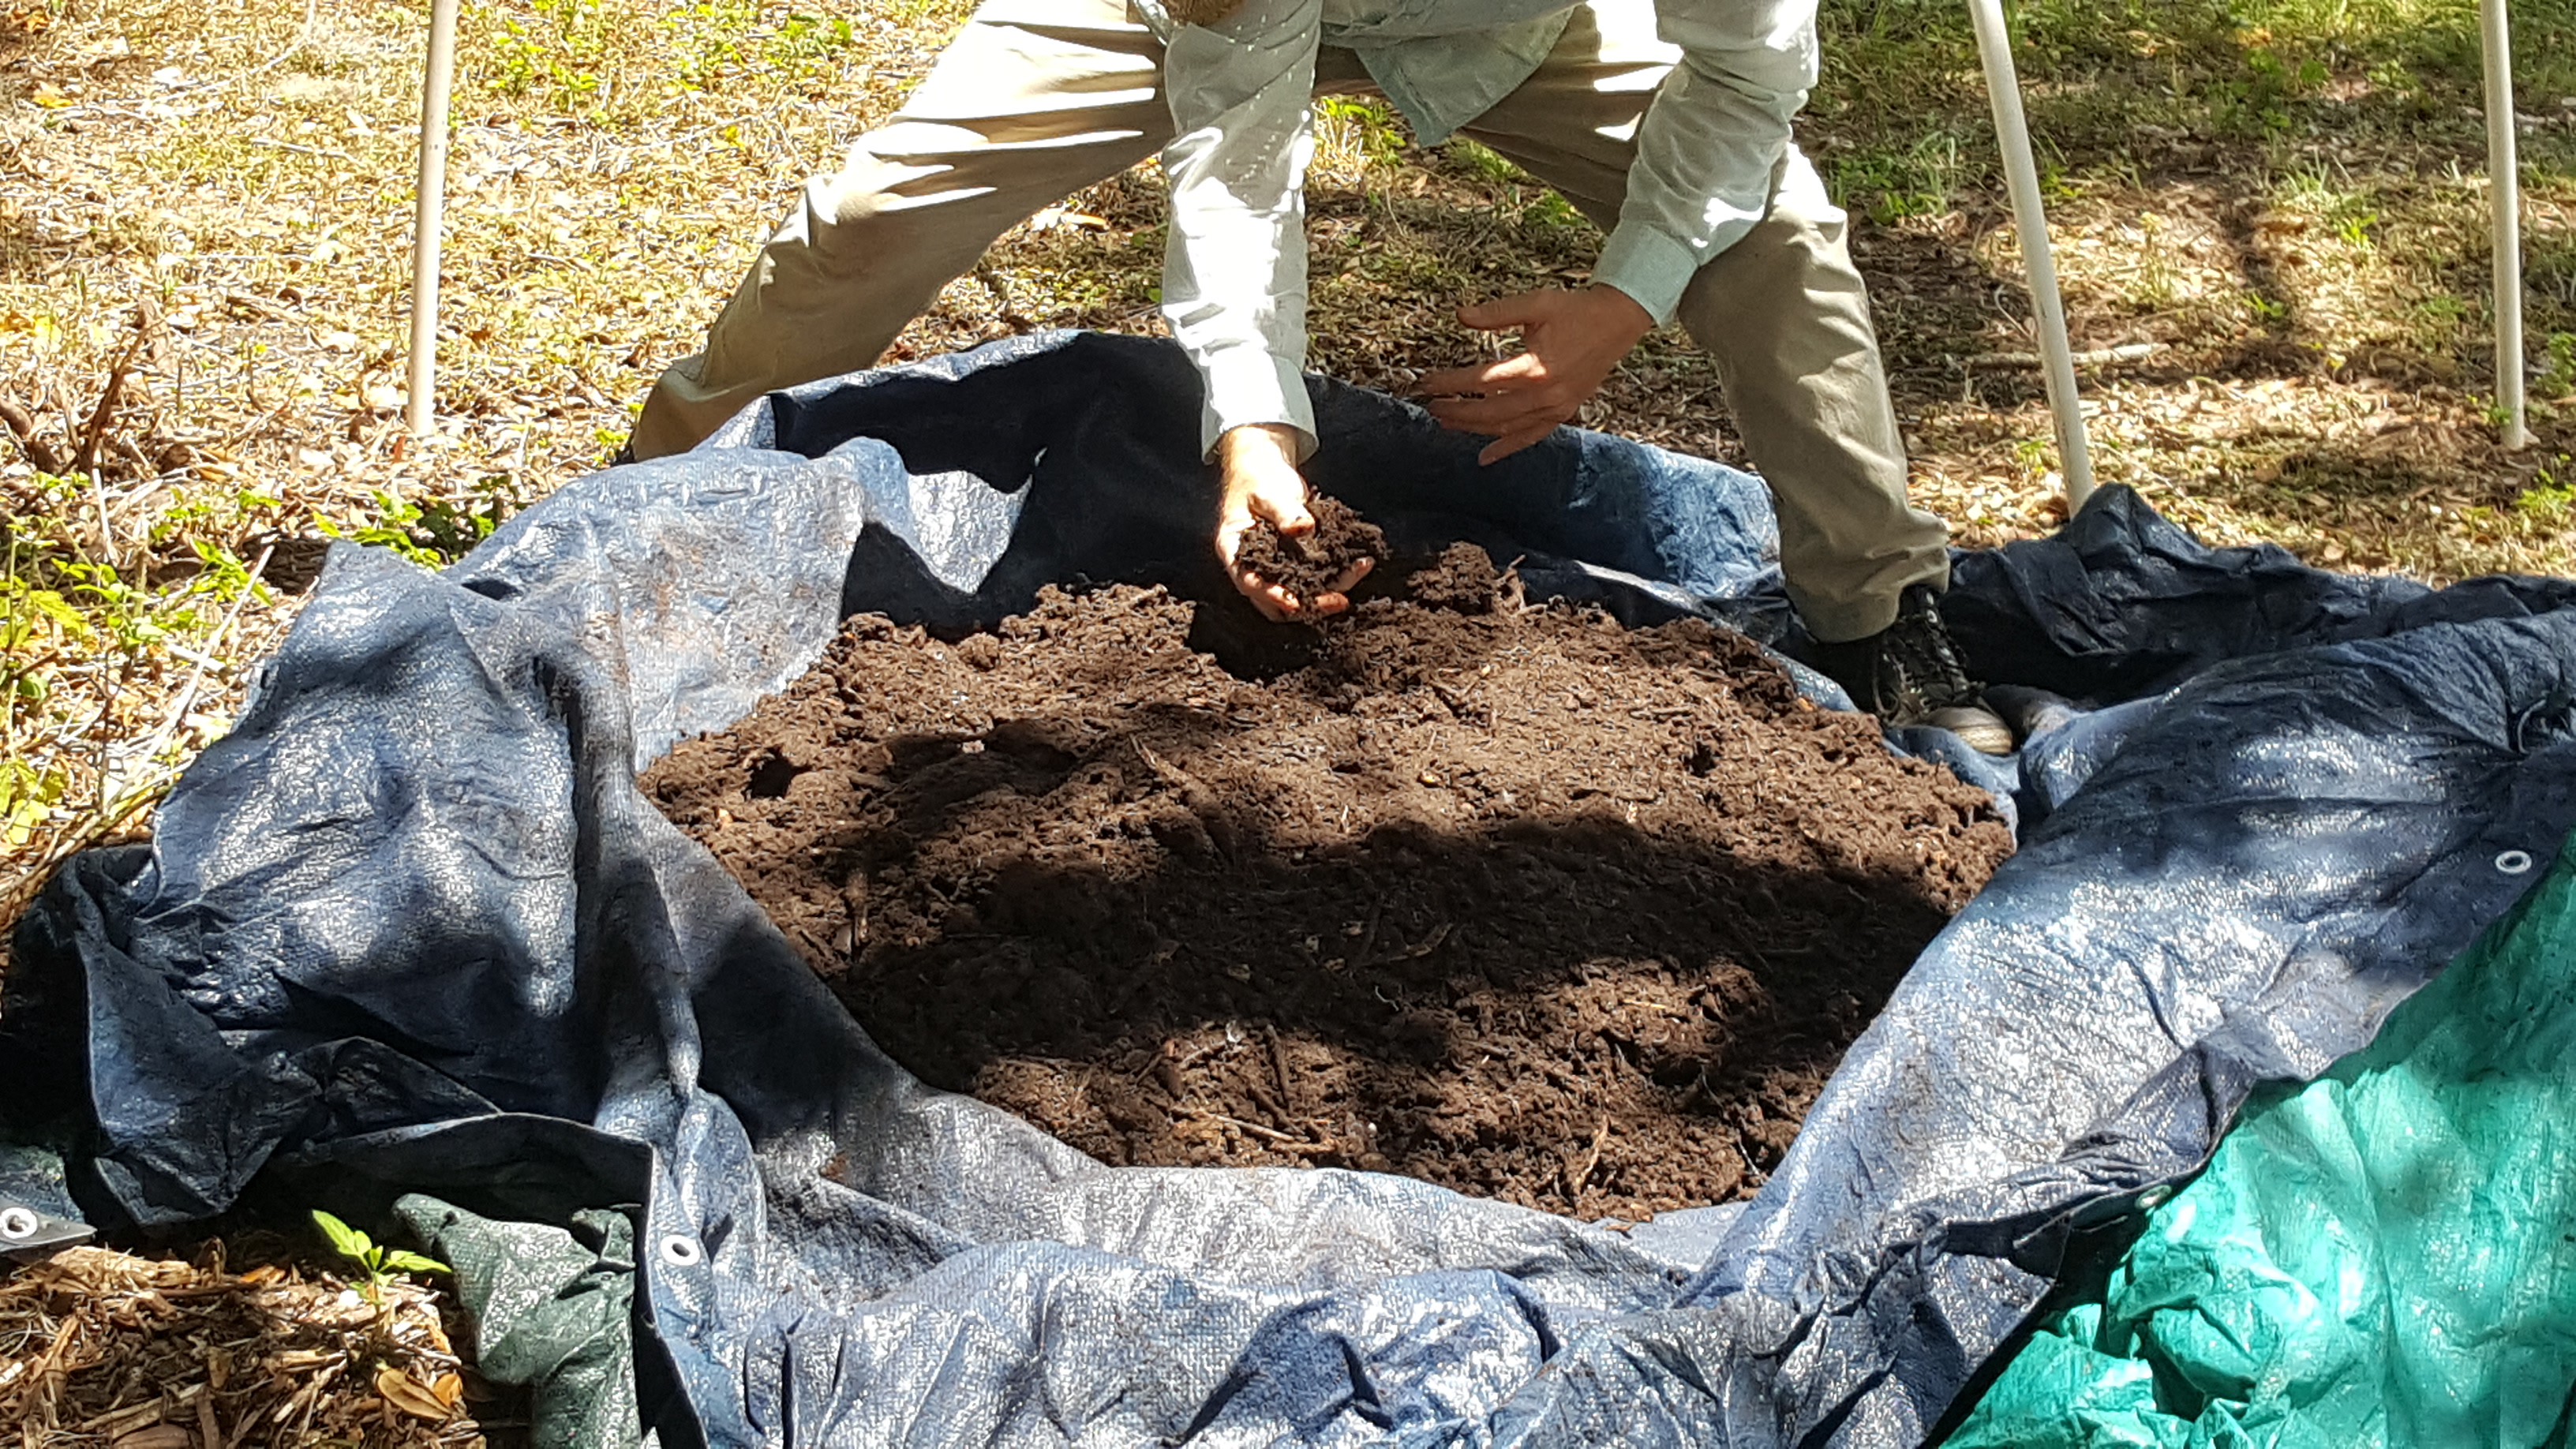
Did you know that you can make cold compost or a hot compost?
Making hot compost will be more labor intensive, but it may be worth it for someone who needs compost in a hurry.
You'll learn about a hot compost method that'll create ready-to-use compost in only 18 days!
Carbon to nitrogen ratio: brown and green materials.
Bacteria like to break down materials that are high in nitrogen which are the green materials. And fungi, prefer the carbon rich brown materials.
Keeping the correct carbon to nitrogen ratio helps keep these microbes balanced in your compost pile.
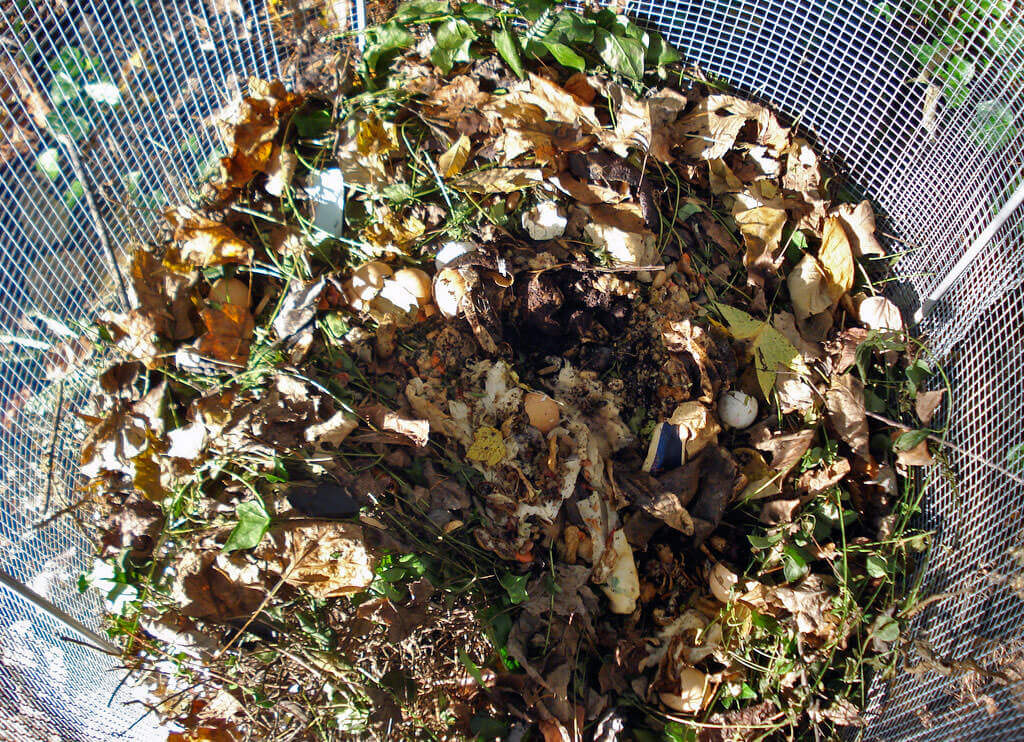
The ideal ratio of your compost pile should be 30 parts carbon to 1 part nitrogen.
That's not a volume ratio, so don't add 30 parts brown material for every 1 part of green material. That would not work very well!
Did you know that very few things are pure brown or pure green?
You see, everything that you add to your compost pile will contain carbon in varying degrees.
Carbon rich materials
Dry leaves: 60 - 80 parts carbon to 1 part nitrogen.
Paper products: 70 - 200 parts carbon to 1 part nitrogen.
Cardboard: 350 parts carbon to 1 part nitrogen.
Wood chips: 300 - 600 parts carbon to 1 part nitrogen.
Nitrogen rich materials
Food scraps: 20 to 30 parts carbon to 1 part nitrogen.
Green weeds: 30 parts carbon to 1 part nitrogen.
Grass clippings: 10 - 25 parts carbon to 1 part nitrogen.
Farm animal manure: 10 - 18 parts carbon to 1 part nitrogen.
These carbon to nitrogen ratios represent an average range for these materials. The materials you use may vary.
Instead of figuring out the individual ratios of every brown and green material out there and driving yourself crazy.
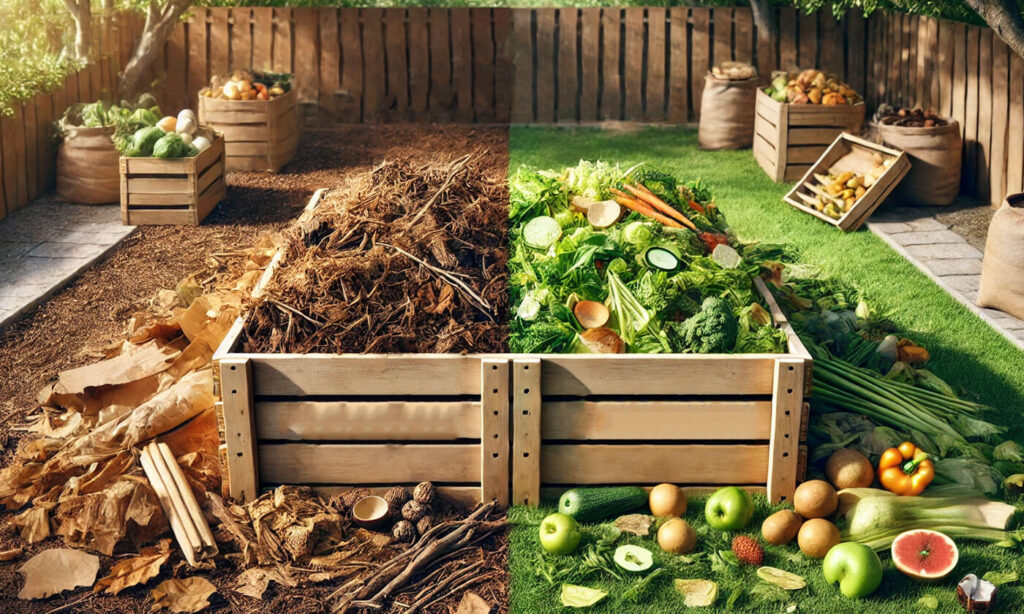
It's perfectly fine to make a compost pile with 50% brown to 50% green materials.
This is how to make compost without too much complication, because it roughly works out to the ideal ratio of 30 to 1.
Brown materials are the carbon component of compost.
The brown materials that go into compost are considered the carbon component. Carbon is an important energy source for your compost.
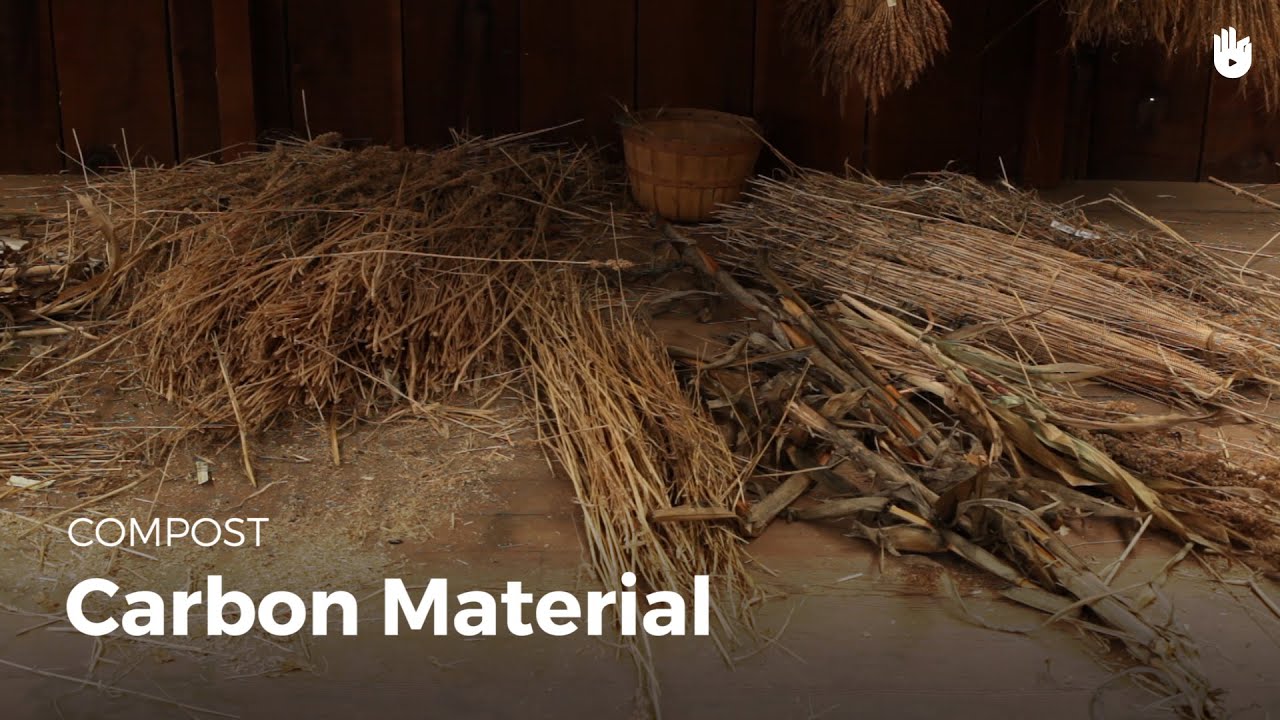
And carbon is used to lock down nitrogen which is very volatile. Brown materials provide structure which is important for aeration purposes.
Providing enough air in your compost pile helps avoid bad smelling or anaerobic compost.
If you're going to use wood chips in your compost, older wood chips will break down faster than brand new wood chips. Older wood chips are softer and are already partially broken down.
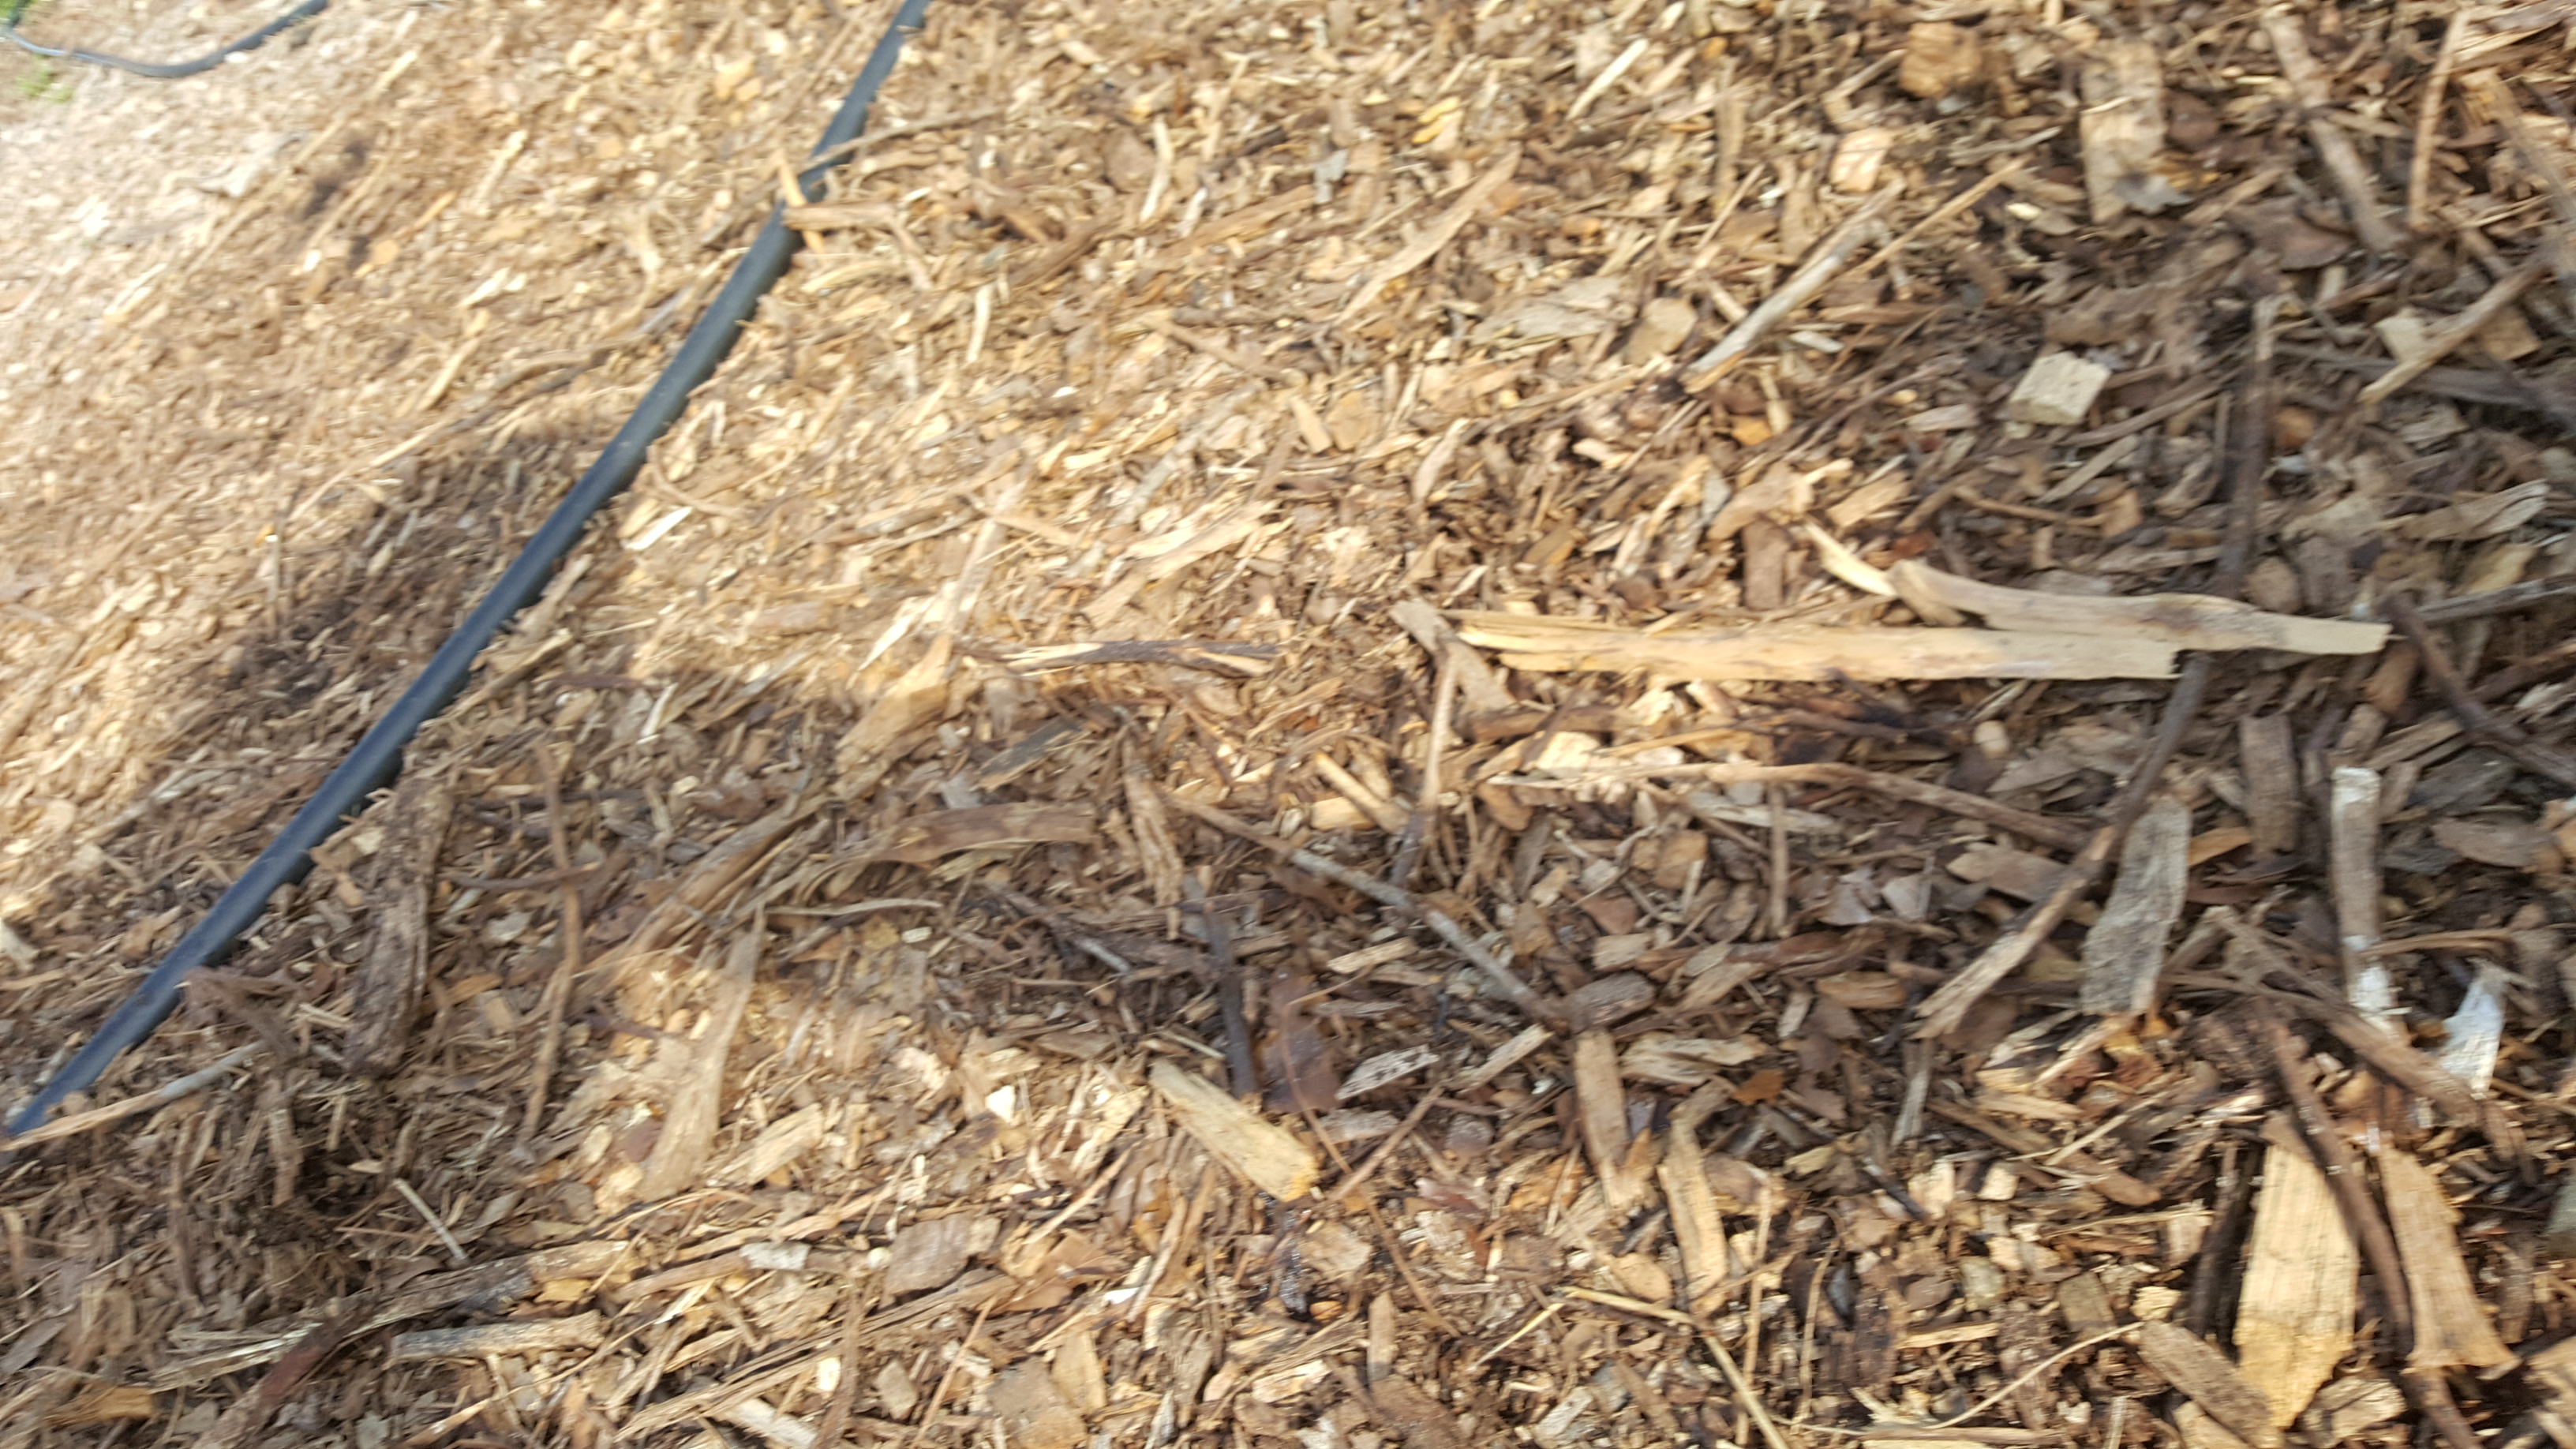
If possible, keep a pile of wood chips on your property and let them sit there for at least a year.
Brown materials that can be used to make compost: wood chips, woody materials, old stems of plants, dry tree leaves, fall leaves, wood ash, sawdust, soil, toilet paper rolls, newspaper, paper bags, cardboard, paper, packing material, straw, dried grass, and hay.
Please avoid glossy or coated paper such as glossy inserts that come with newspapers. Probably shouldn't use any magazines.
- And no colored ink because they usually contain heavy metals.
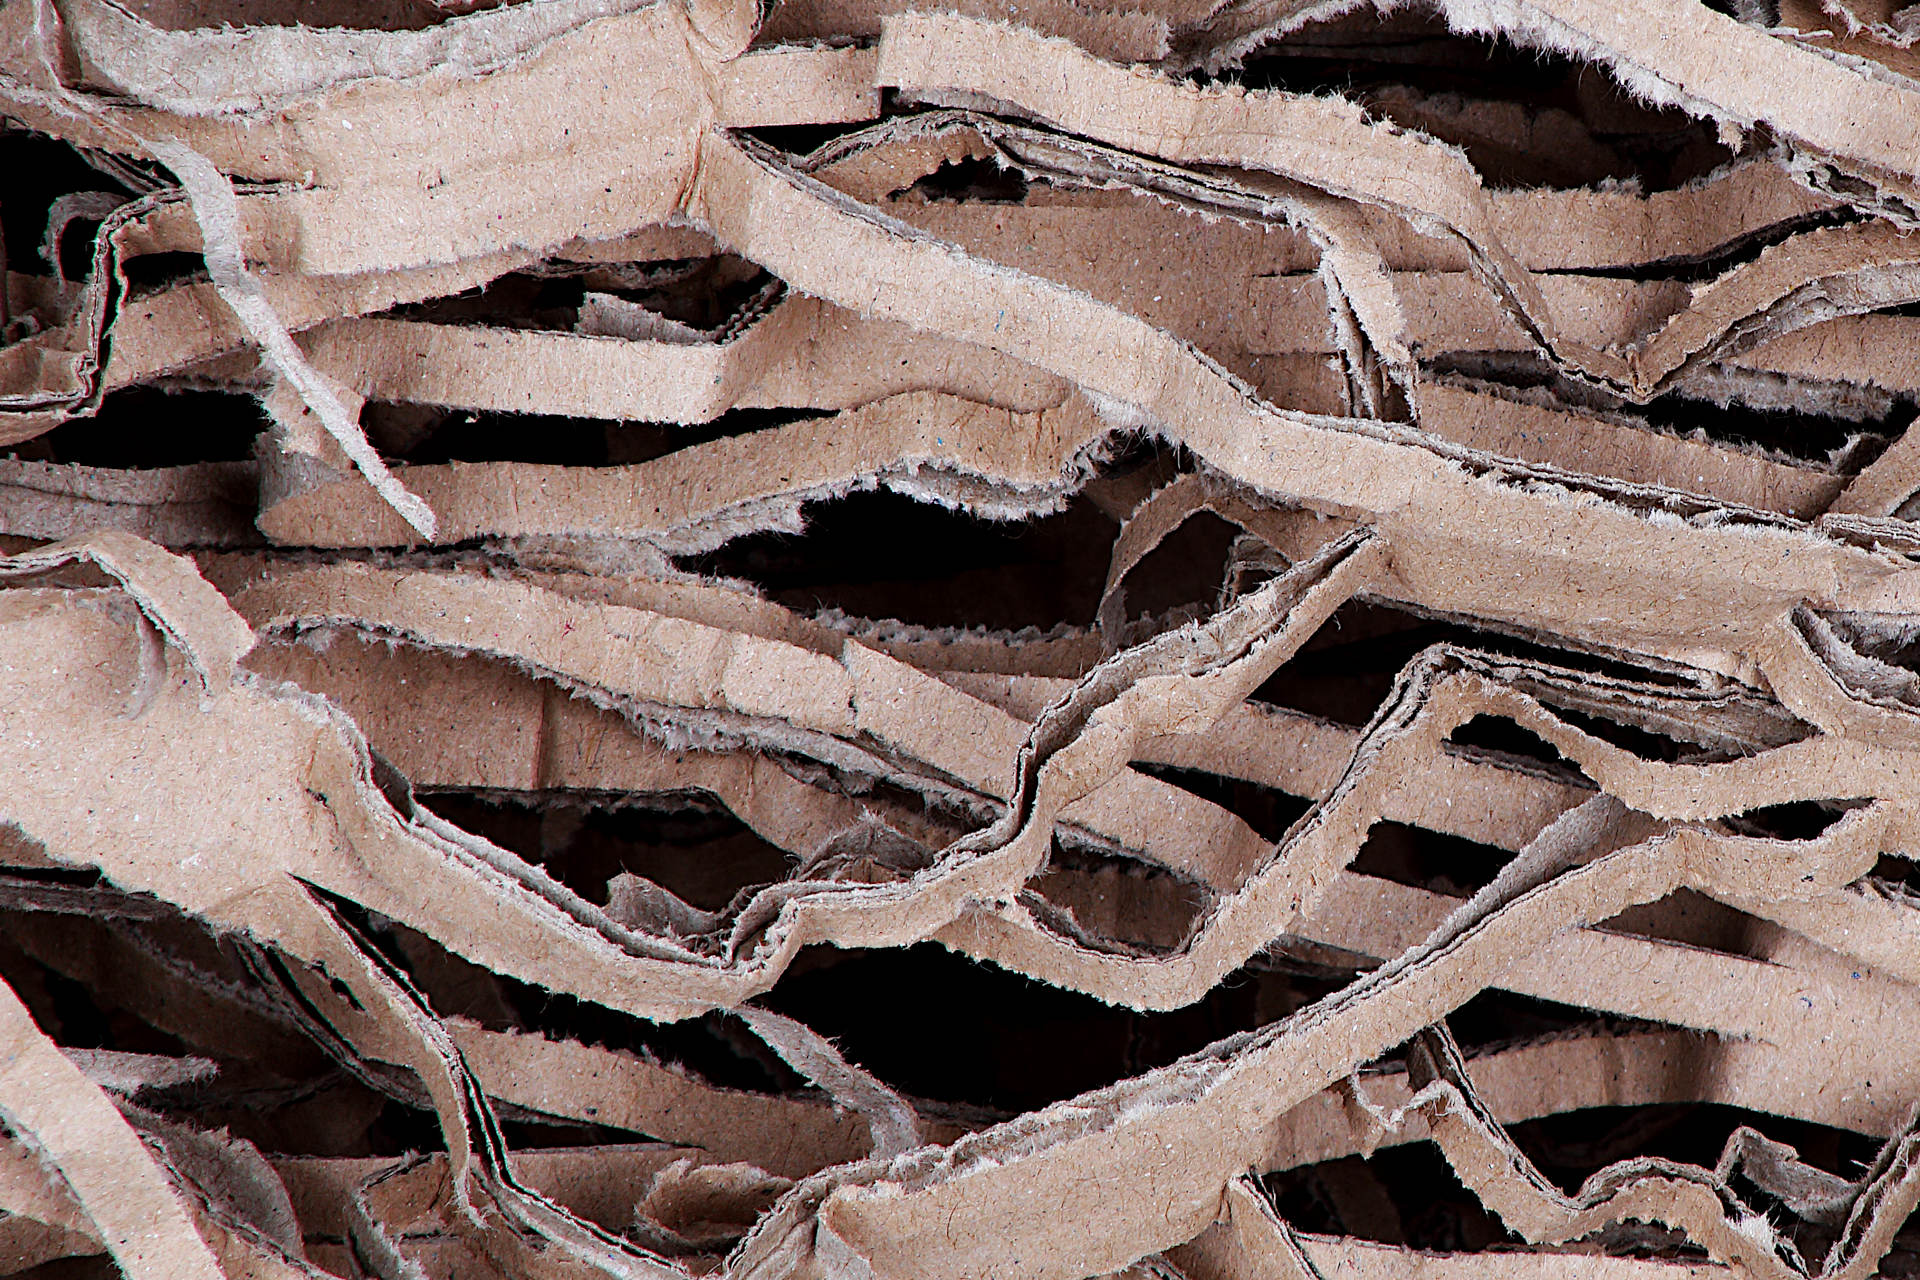
If you decide to use cardboard in your compost, avoid glossy, coated, or painted cardboard.
Shred cardboard into smaller pieces and remove any tape, stickers, or metal staples.
Please avoid coal fire ash, sawdust from treated timber, large tree branches, herbicide treated hay, and anything that contains toxic chemicals.
Having smaller surface areas is how to make compost that microbes can easily latch on to and this will speed up the process.
Shred paper products, chop up garden plants, and use wood chips instead of branches.
This also allows for more air and water to get through the compost pile.
Brown and green materials should be between 1/2 to 1 1/2 inches in size for the woodier materials.
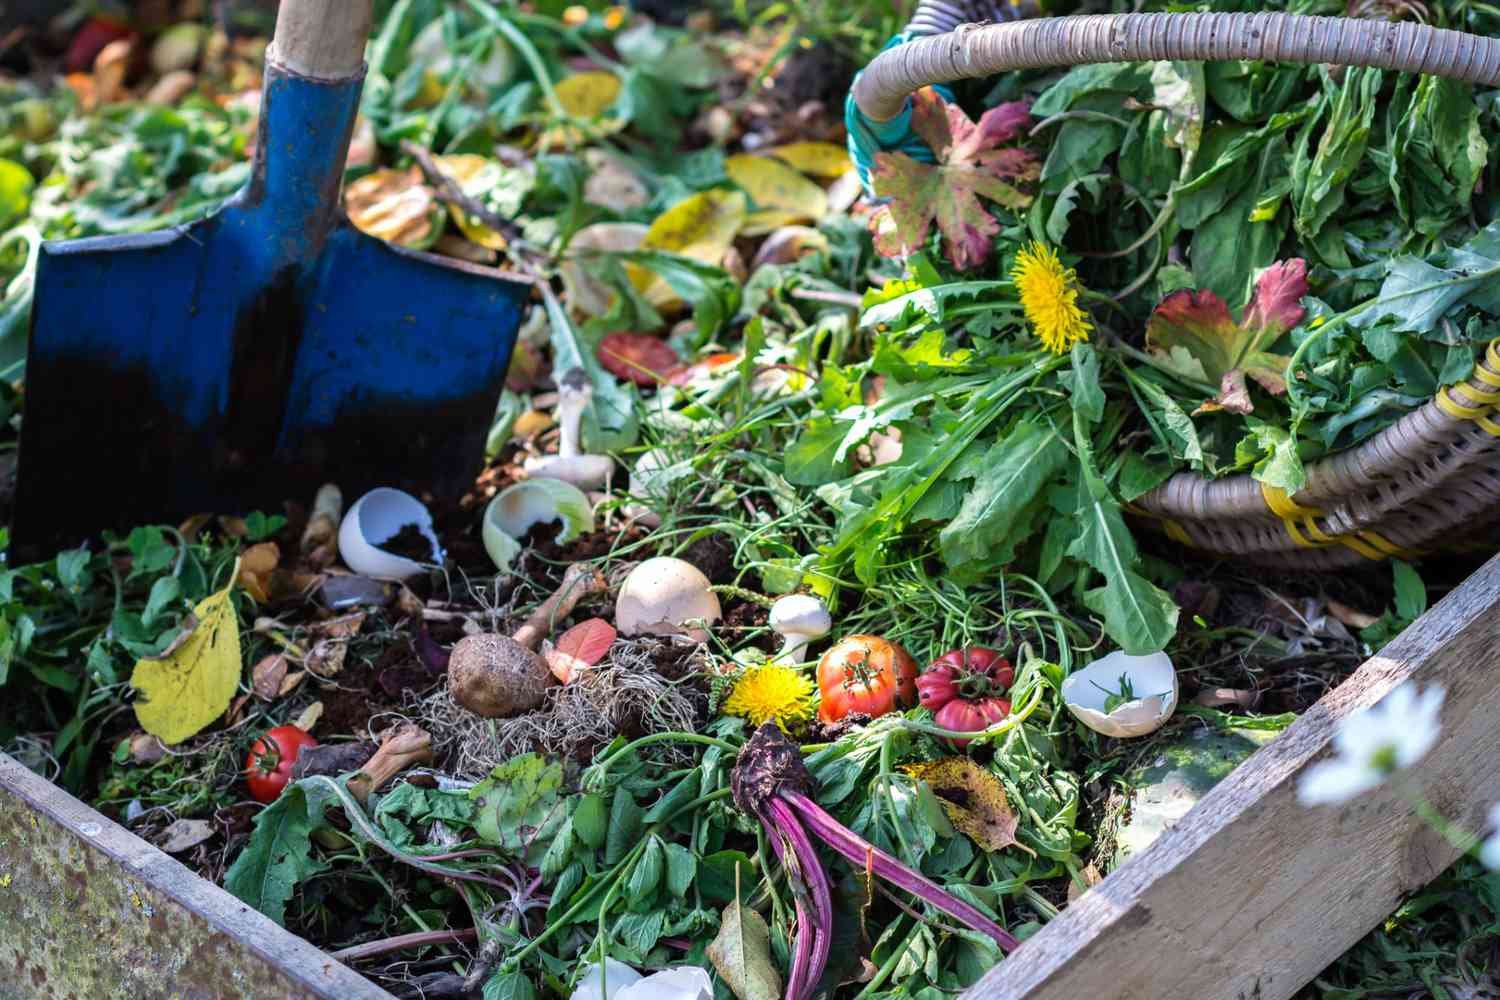
Succulent and softer materials like fresh garden refuse don't need to be that small because they will decompose rapidly.
Green materials are the nitrogen component of compost.
The green materials that go into a compost are considered the nitrogen component. Nitrogen forms the basis of proteins and growth enzymes.
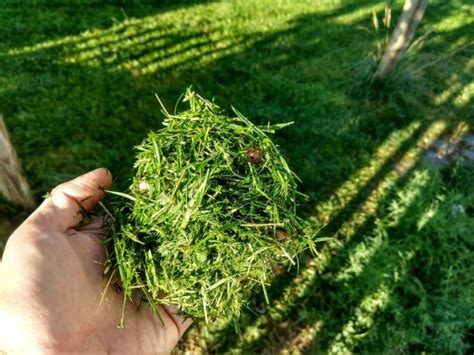
Nitrogen is the fuel source that activates and heats up your compost pile. Without enough green materials like freshly cut green grass, microbial activity will cease to function.
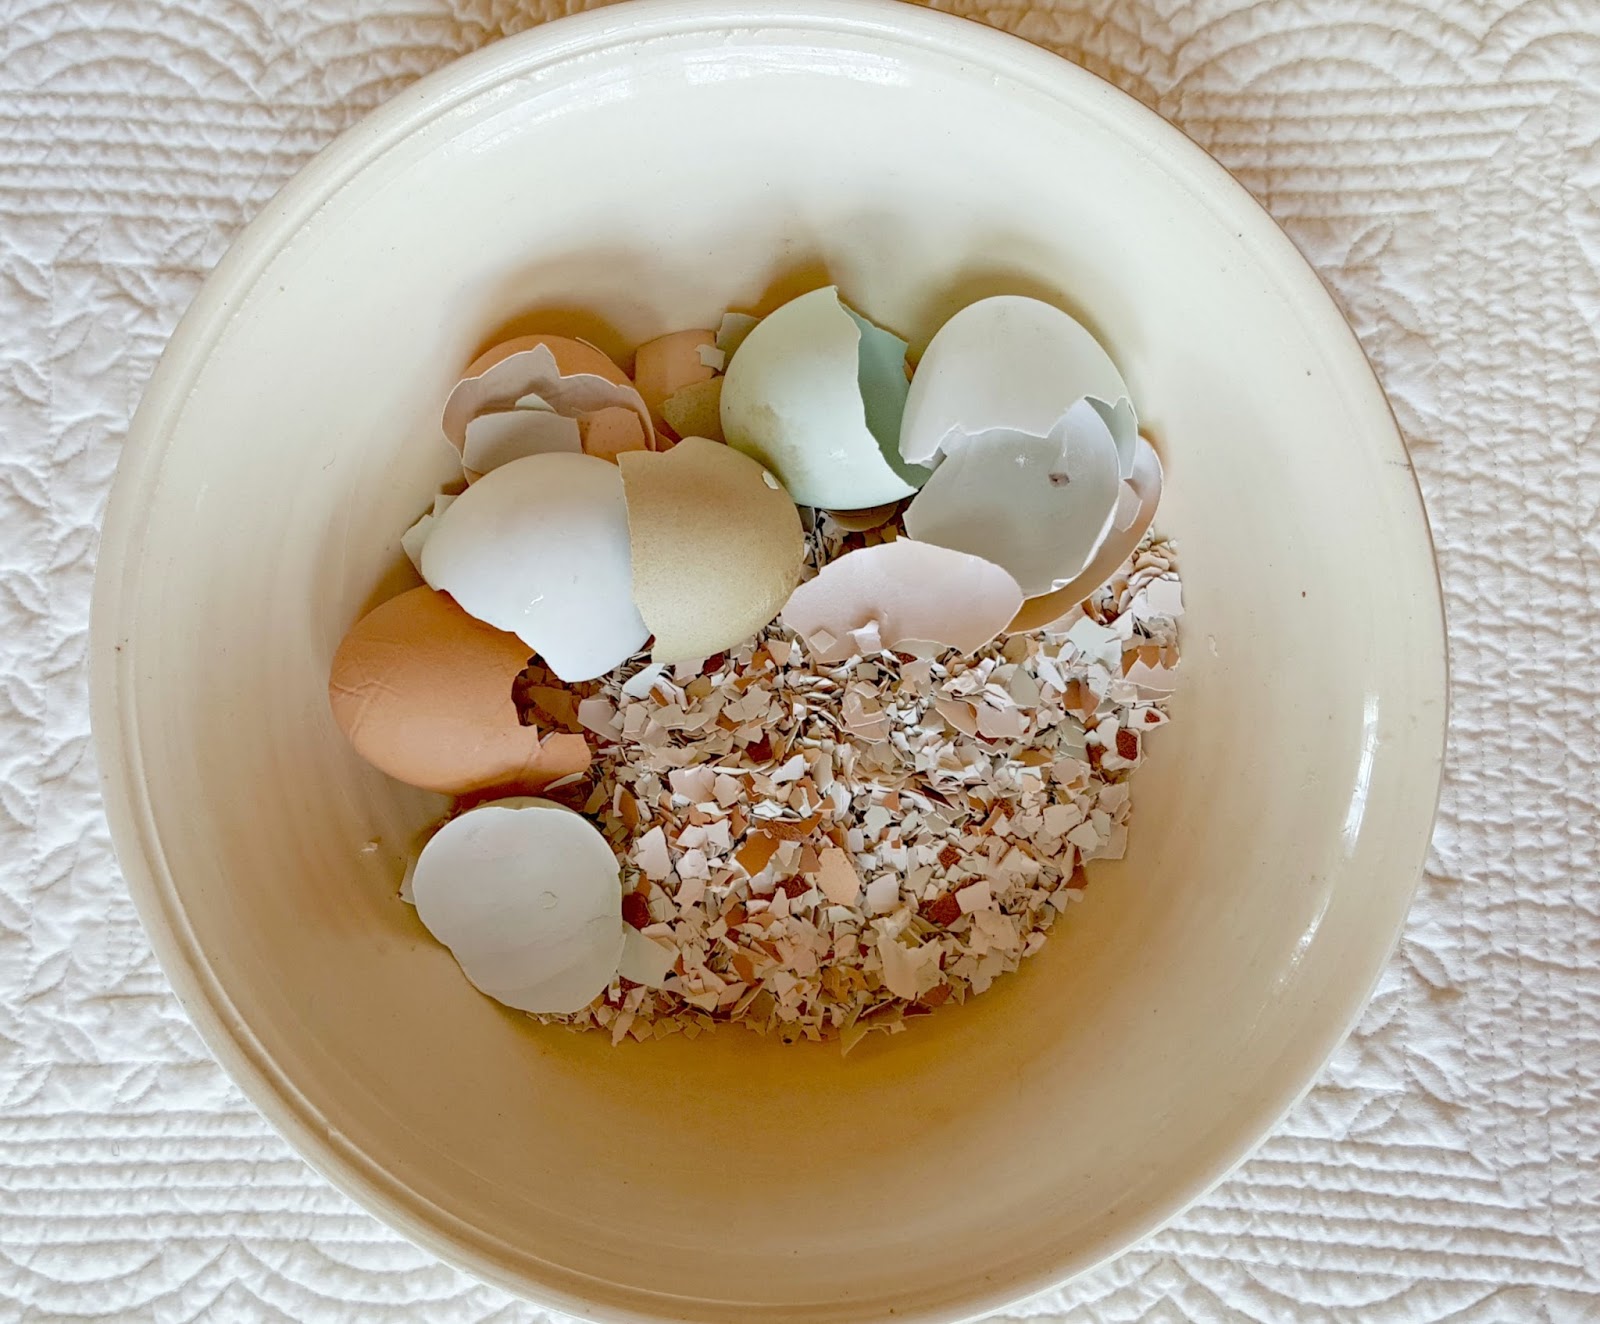
Kitchen scraps like egg shells are great to throw into your compost.
We save ours all the time. They are also a great source of calcium.
However, it's best to crush the egg shells before composting which helps them breakdown faster in your compost.
Green materials that can be used to make compost: kitchen scraps from fruits or vegetables, egg shells, shrimp shells, coffee grounds, green garden waste, young tree leaves, green weeds, fresh-cut green grasses, non-medicated urine, alfalfa, and fresh manures.
Anything high in protein is high in nitrogen, so you can add fish scraps, animal visceral, feathers, meat, and offal into a compost pile, but doing so may invite unwanted pests like flies and rodents.
- A little animal fat is okay, but a lot will take a while to decompose.
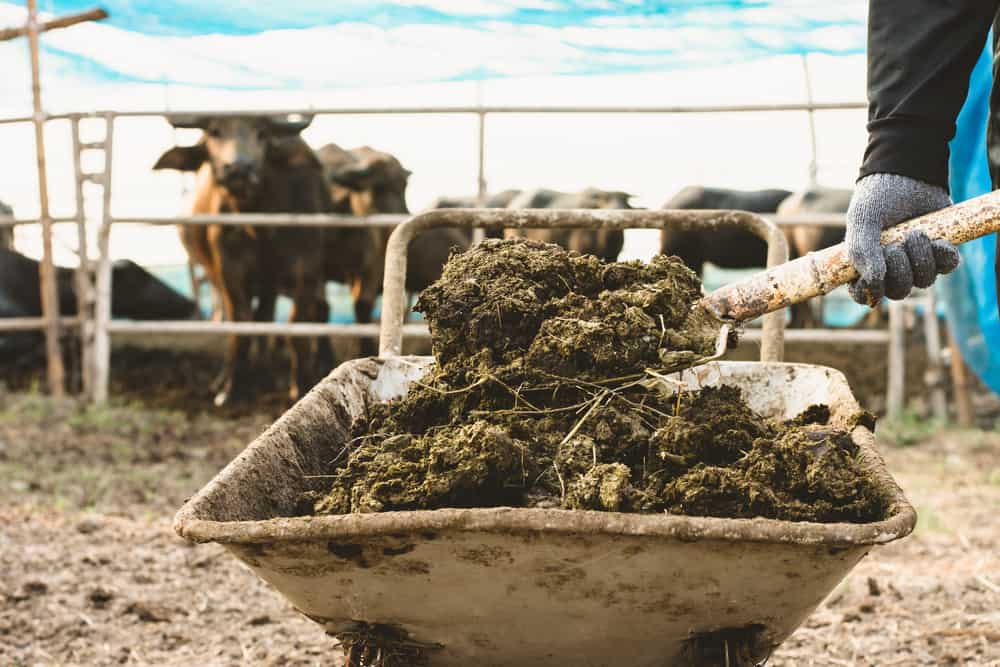
Manure, alfalfa, urine, and green grass clippings are some of the best nitrogen aka green materials to get a compost pile hot quickly.
Please use animal manure from healthy farm animals such as cows, horses, chickens, goats, and sheep that weren't on any medications.
And it's best not to use cat or dog manure.
We grew rye grass in our market garden one year as a cover crop. Sadly, we did not think to use this beautiful green grass to make some hot and fast compost.
Hot composting: how to make compost fast with the Berkeley method.
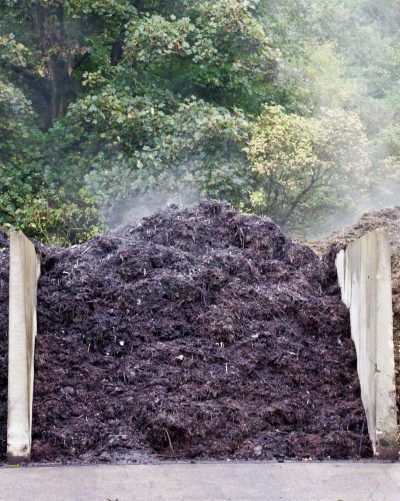
Using a hot composting method like Berkeley is how to make compost fast!
Hot composting is the aerobic way of how to make compost.
If your pile doesn't get enough air, it will turn anaerobic and this method won't be very effective for you.
Did you know high temperatures favor thermophilic bacteria which are the most rapid decomposers?
And as soon as the temperature of your compost reaches 131 degrees F., that's when it becomes hot enough to kill bad pathogens and weed seeds.
- The heat kills any perennial weed roots. It also kills insects and their eggs. And helps to multiply the thermophilic bacteria.
The Berkeley method is a popular hot composting method that's bacterial dominant and involves frequent turning, so it's a bit labor intensive.
However, you will have valuable compost in a very short period of time!
The Berkeley method: instructions and tips.
The Berkeley method is a hot composting method developed by Robert D. Raabe a professor of plant pathology at the University of Berkeley which is located in California.
- With this hot composting method, you will have compost to use in as little as 18 days.
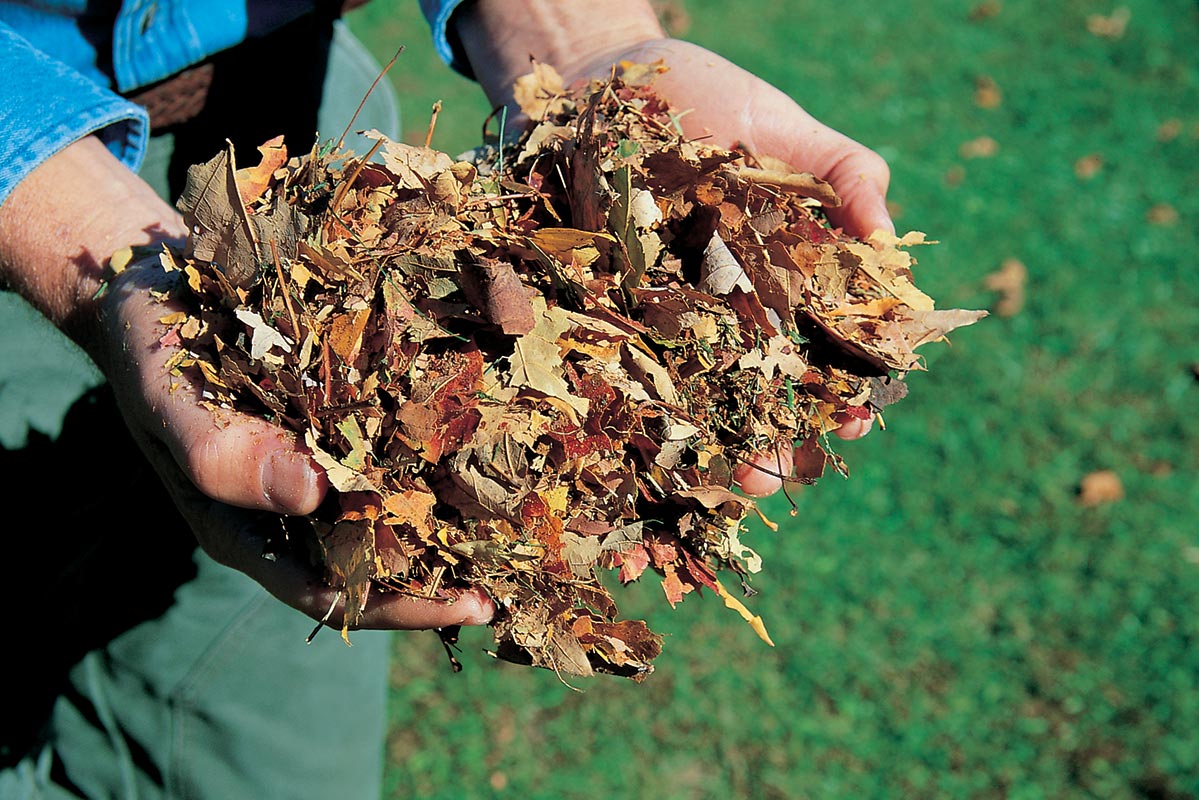
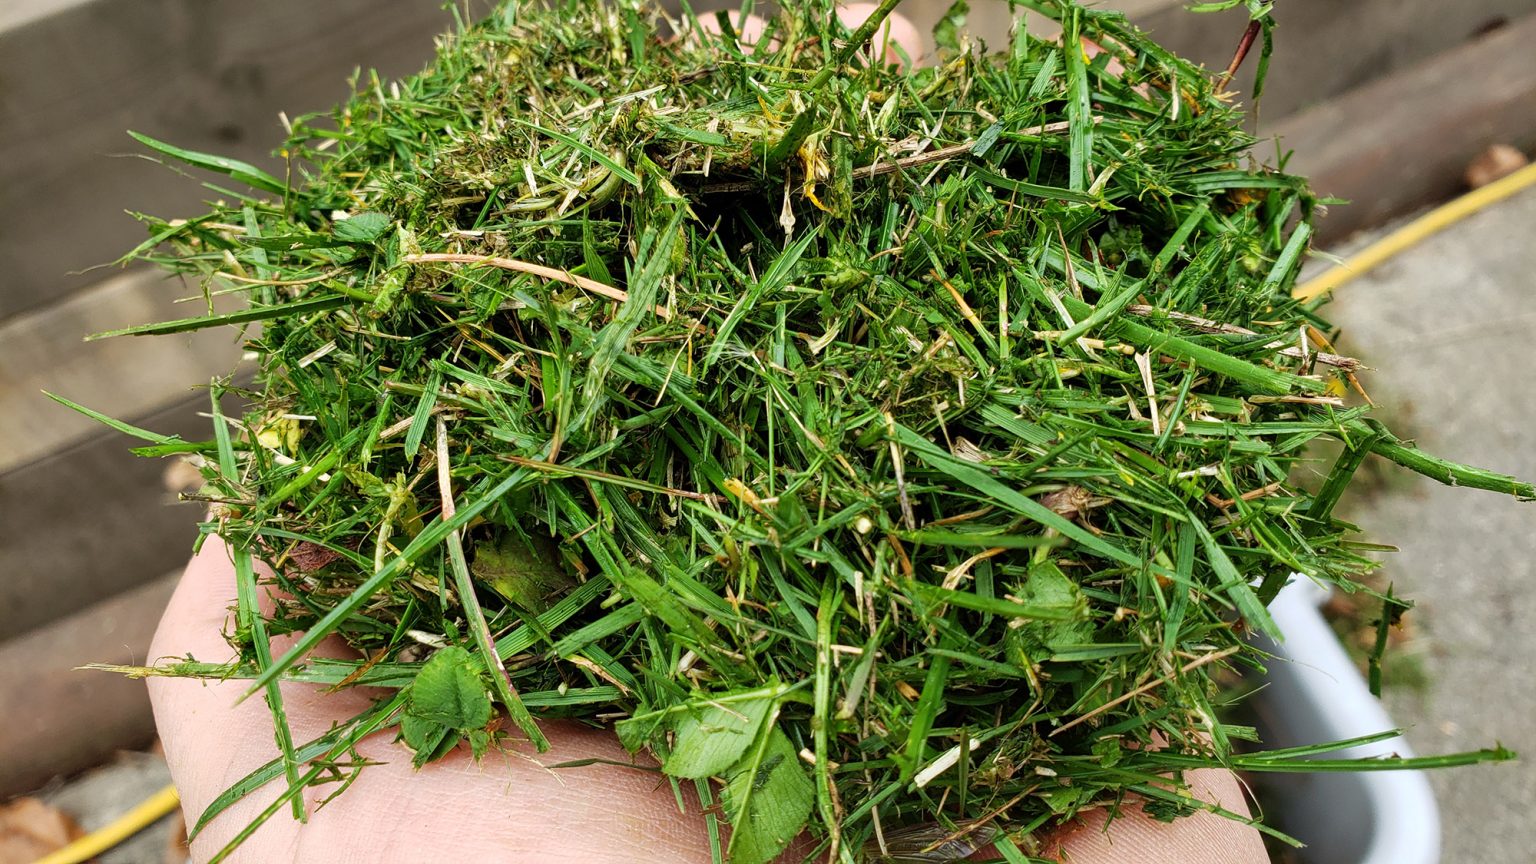
Ingredients needed: 50% brown materials, 50% green materials, non-chlorinated water, and air aka oxygen.
You should gather most of your brown and green materials at least a day ahead if possible.
- As a tip, you can store the materials in 5 gallon buckets which is also a helpful way to measure out your ingredients.
BTW, Mr. Raabe didn't recommend adding soil or ashes to this method of hot composting.
Using wood chips, pine needles, or woody material may not be the best idea either because they breakdown a lot slower than say dried leaves or straw.
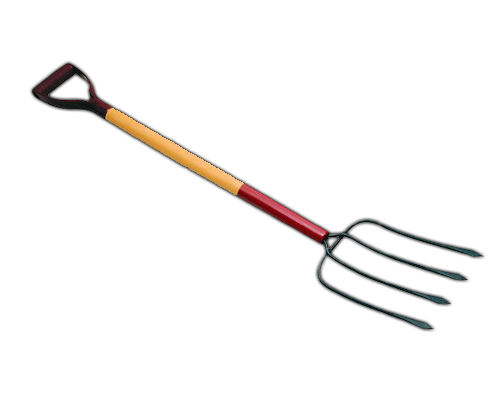
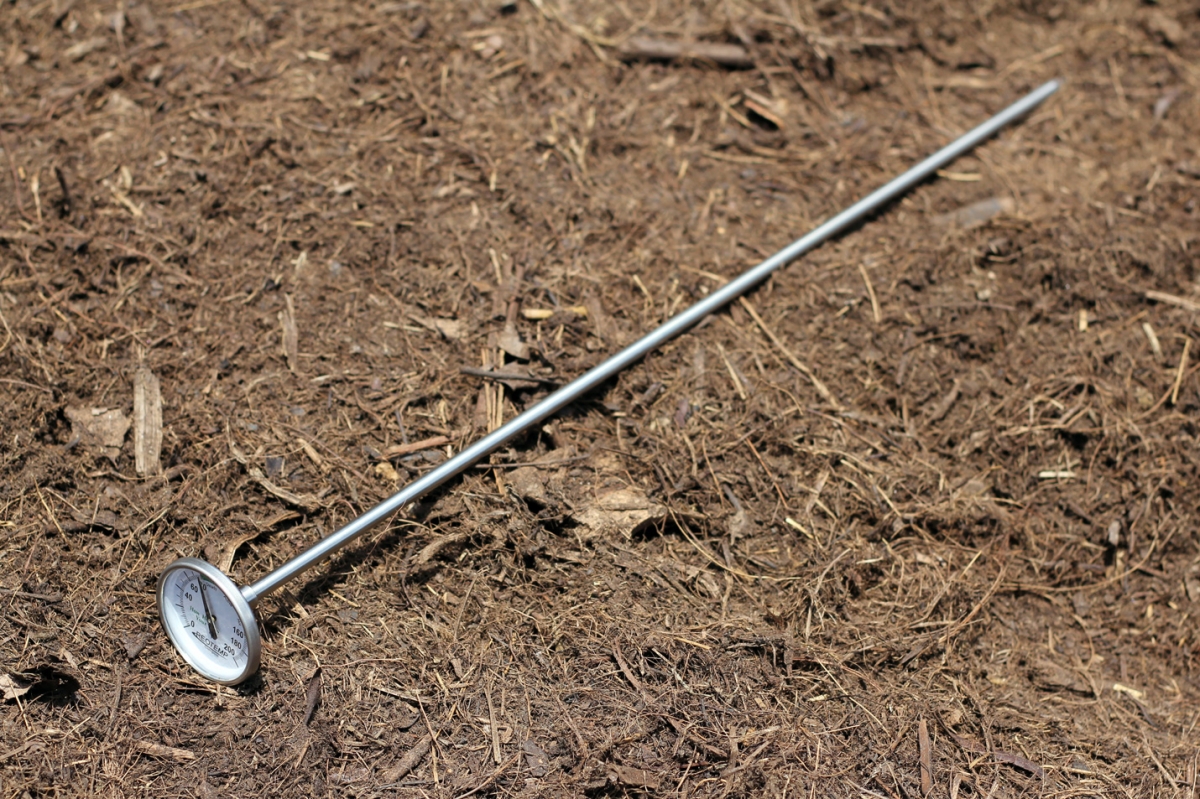
Tools you'll need: pitchfork or shovel, compost thermometer, and a semi-breathable tarp.
The minimum size: compost pile should be at least 1 cubic yard or 1 cubic meter in size - that's 3 feet by 3 feet by 3 feet cubed.
This is to prevent heat loss and build the amount of heat necessary.
If you use less volume than the minimum, this method may not work. Too big a pile, you won't be able to turn it very easily.
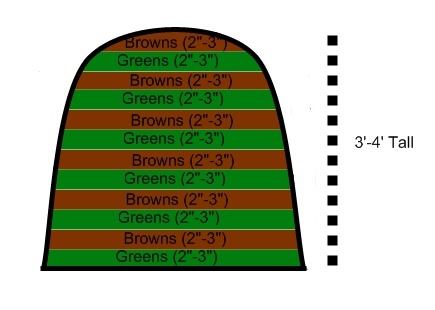
With the Berkeley method, you build your compost pile with layers of brown and green materials - kind of like making a lasagna.
Then you let the compost pile sit for about 4 days until it heats up to a certain temperature. Once it heats up, turn your compost pile every other day until it's done.
Day 1: build your compost pile.
Locate your compost pile in an area that is dry and easy to turn.
It is best to start the base of your compost pile with a chunkier brown material like straw or dried up plants from your garden.
Alternate layers of brown with green and each layer should be about 2 to 4 inches thick.
- Primarily spray water after each brown layer and carefully judge how much water to spray on the green layer because it could already be high in moisture.
Also, be sure to spray water on the top and on the sides of the completed compost pile.
Water just enough to give your pile a 50% moisture level - your compost pile should resemble a damp sponge.
Be aware, too much moisture in your compost pile will slow down the process and may create a bad smell.
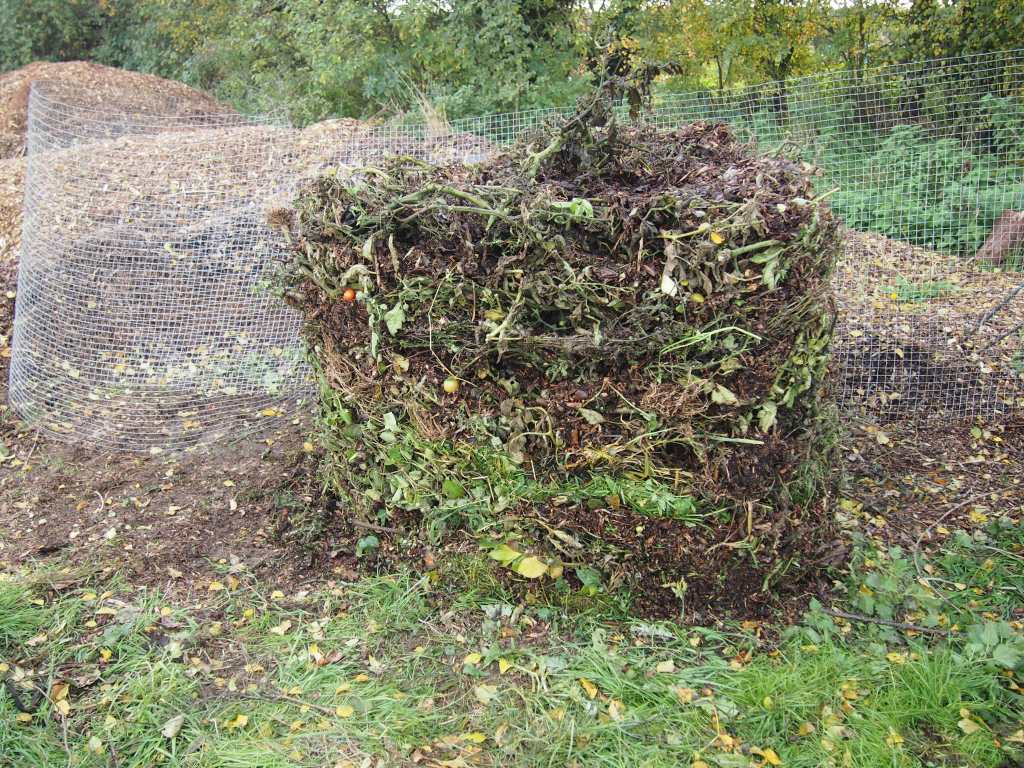
If materials are too dry, decomposition will be very slow or not occur at all.
- Some people like to use wire fencing to help shape their compost pile - it's an option.
After you've finished building the pile, cover the compost pile with a tarp to prevent rain from adding more moisture and to keep moisture and heat that's already there in.
Day 2 to 3: monitor your compost pile and adjust if needed.
Be sure to monitor the temperature of the compost pile during this time with a compost thermometer that you stick into the pile.
You want to reach the middle of your compost pile, do this at least once a day to make sure the pile is heating up.
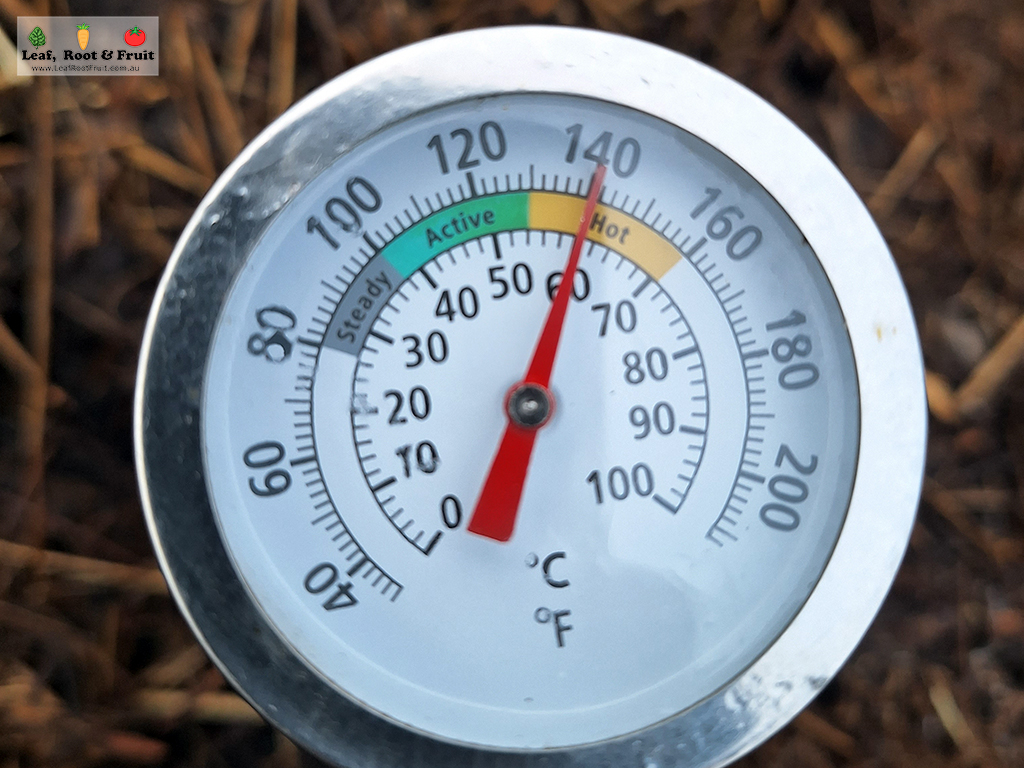
If done correctly, your compost pile will heat to high temperatures within 24 to 48 hours.
A temperature range of 131 to 140 degrees F. will be high enough to increase thermophilic micro-organisms.
These micro-organisms break down the compost pile quickly, but it's not too hot to significantly shrink your pile.
Problem solving: if your compost pile isn't heating up, you will need to check the moisture level of your pile. Grab a handful and squeeze! You should only see 1 or 2 drops of water.
If it's dripping wet, spread out the compost pile to dry for a day or just add more brown dry material.
- If you feel the compost pile is too dry, just add more water.
If the moisture level is not the problem, your pile may need more nitrogen or green materials.
- Add a little more nitrogen rich materials like fresh cut green grass, manure, etc. and distribute it evenly in the pile (you can wait do this when you turn the pile).
Day 4 or 5: turn compost pile to aerate or introduce air. Then turn the compost pile every other day after the first turn.
By turning the pile, you will introduce air aka oxygen into the pile which is necessary to keep the most active microbes functioning.
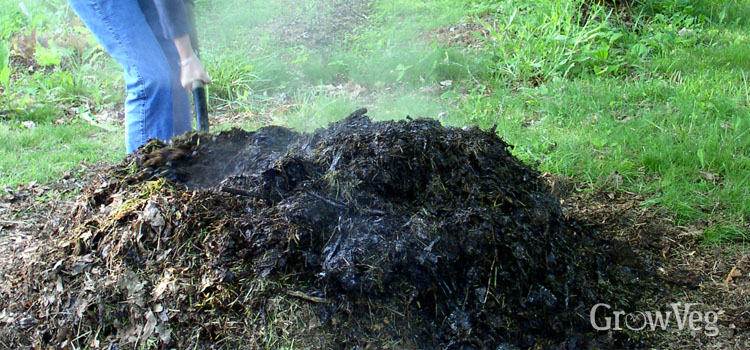
Turning also ensures that all of the materials in the compost pile reach the optimum temperature at various times. Turnings also helps to keep the temperature in a good range - avoid letting it get too hot.
Use a pitchfork and/or a shovel for this job. While turning your pile relocate it close by and recreate the same form.
Basically, you want what was in the middle of the compost pile to end up on the outside and what was on the outside should end up in the middle.
- Keep in mind, the hottest part of the pile is in the middle.
Day 6 to 9: compost pile should reach peak temperatures during this time. Turn pile a couple of times.
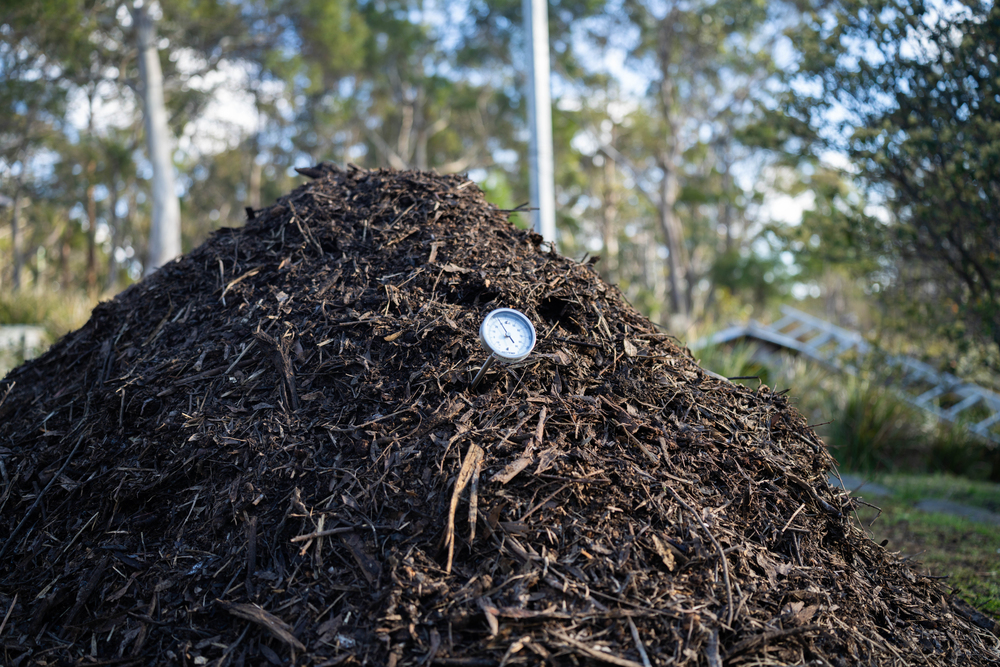
Take a temperature reading at least twice a day to monitor your compost pile, as it should reach its peak temperature during these days.
- A well balanced compost pile maintains itself in the range of 131 to 140 degrees F. Too much higher and you risk killing the beneficial microbes according to Richard Perkins who has made a lot of Berkeley composts.
If the pile gets higher than 160 degrees F., microbes will be killed, your compost pile will cool, and you will have to start the process over again.
If the temperature of your pile gets close to 160 degrees F., take off the tarp and open up the top of the compost pile with a pitchfork to help cool it down quickly.
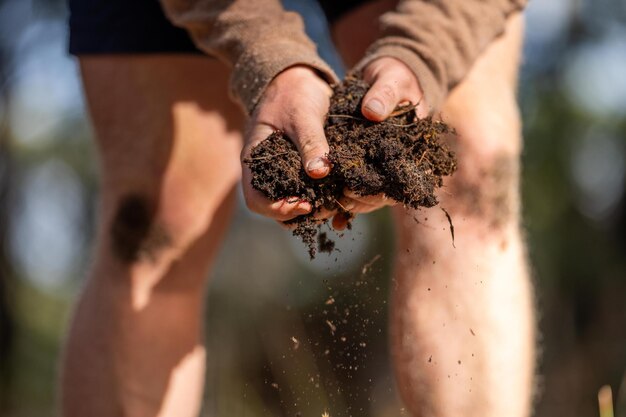
Be sure to check the moisture level of your compost whenever you turn the pile, but be careful not to burn yourself (use gloves to be safe). Spray the pile with water as needed.
Problem solving: if you smell ammonia, your compost pile is too high in nitrogen. Add a carbon rich material to the part of the pile that has the odor which should balance out your pile.
- Other than adding water should the pile become too dry, adding more brown material is the only material that should be added to the pile once it has started to heat up.
Day 10 to 18: continue turning and monitoring compost pile until the pile cools to air temperature.
Continue turning every other day and monitoring the temperature and moisture level of your pile.
As your compost pile nears its completion, the temperature will drop and little or no heat will be produced. That is when the composting process has finished.
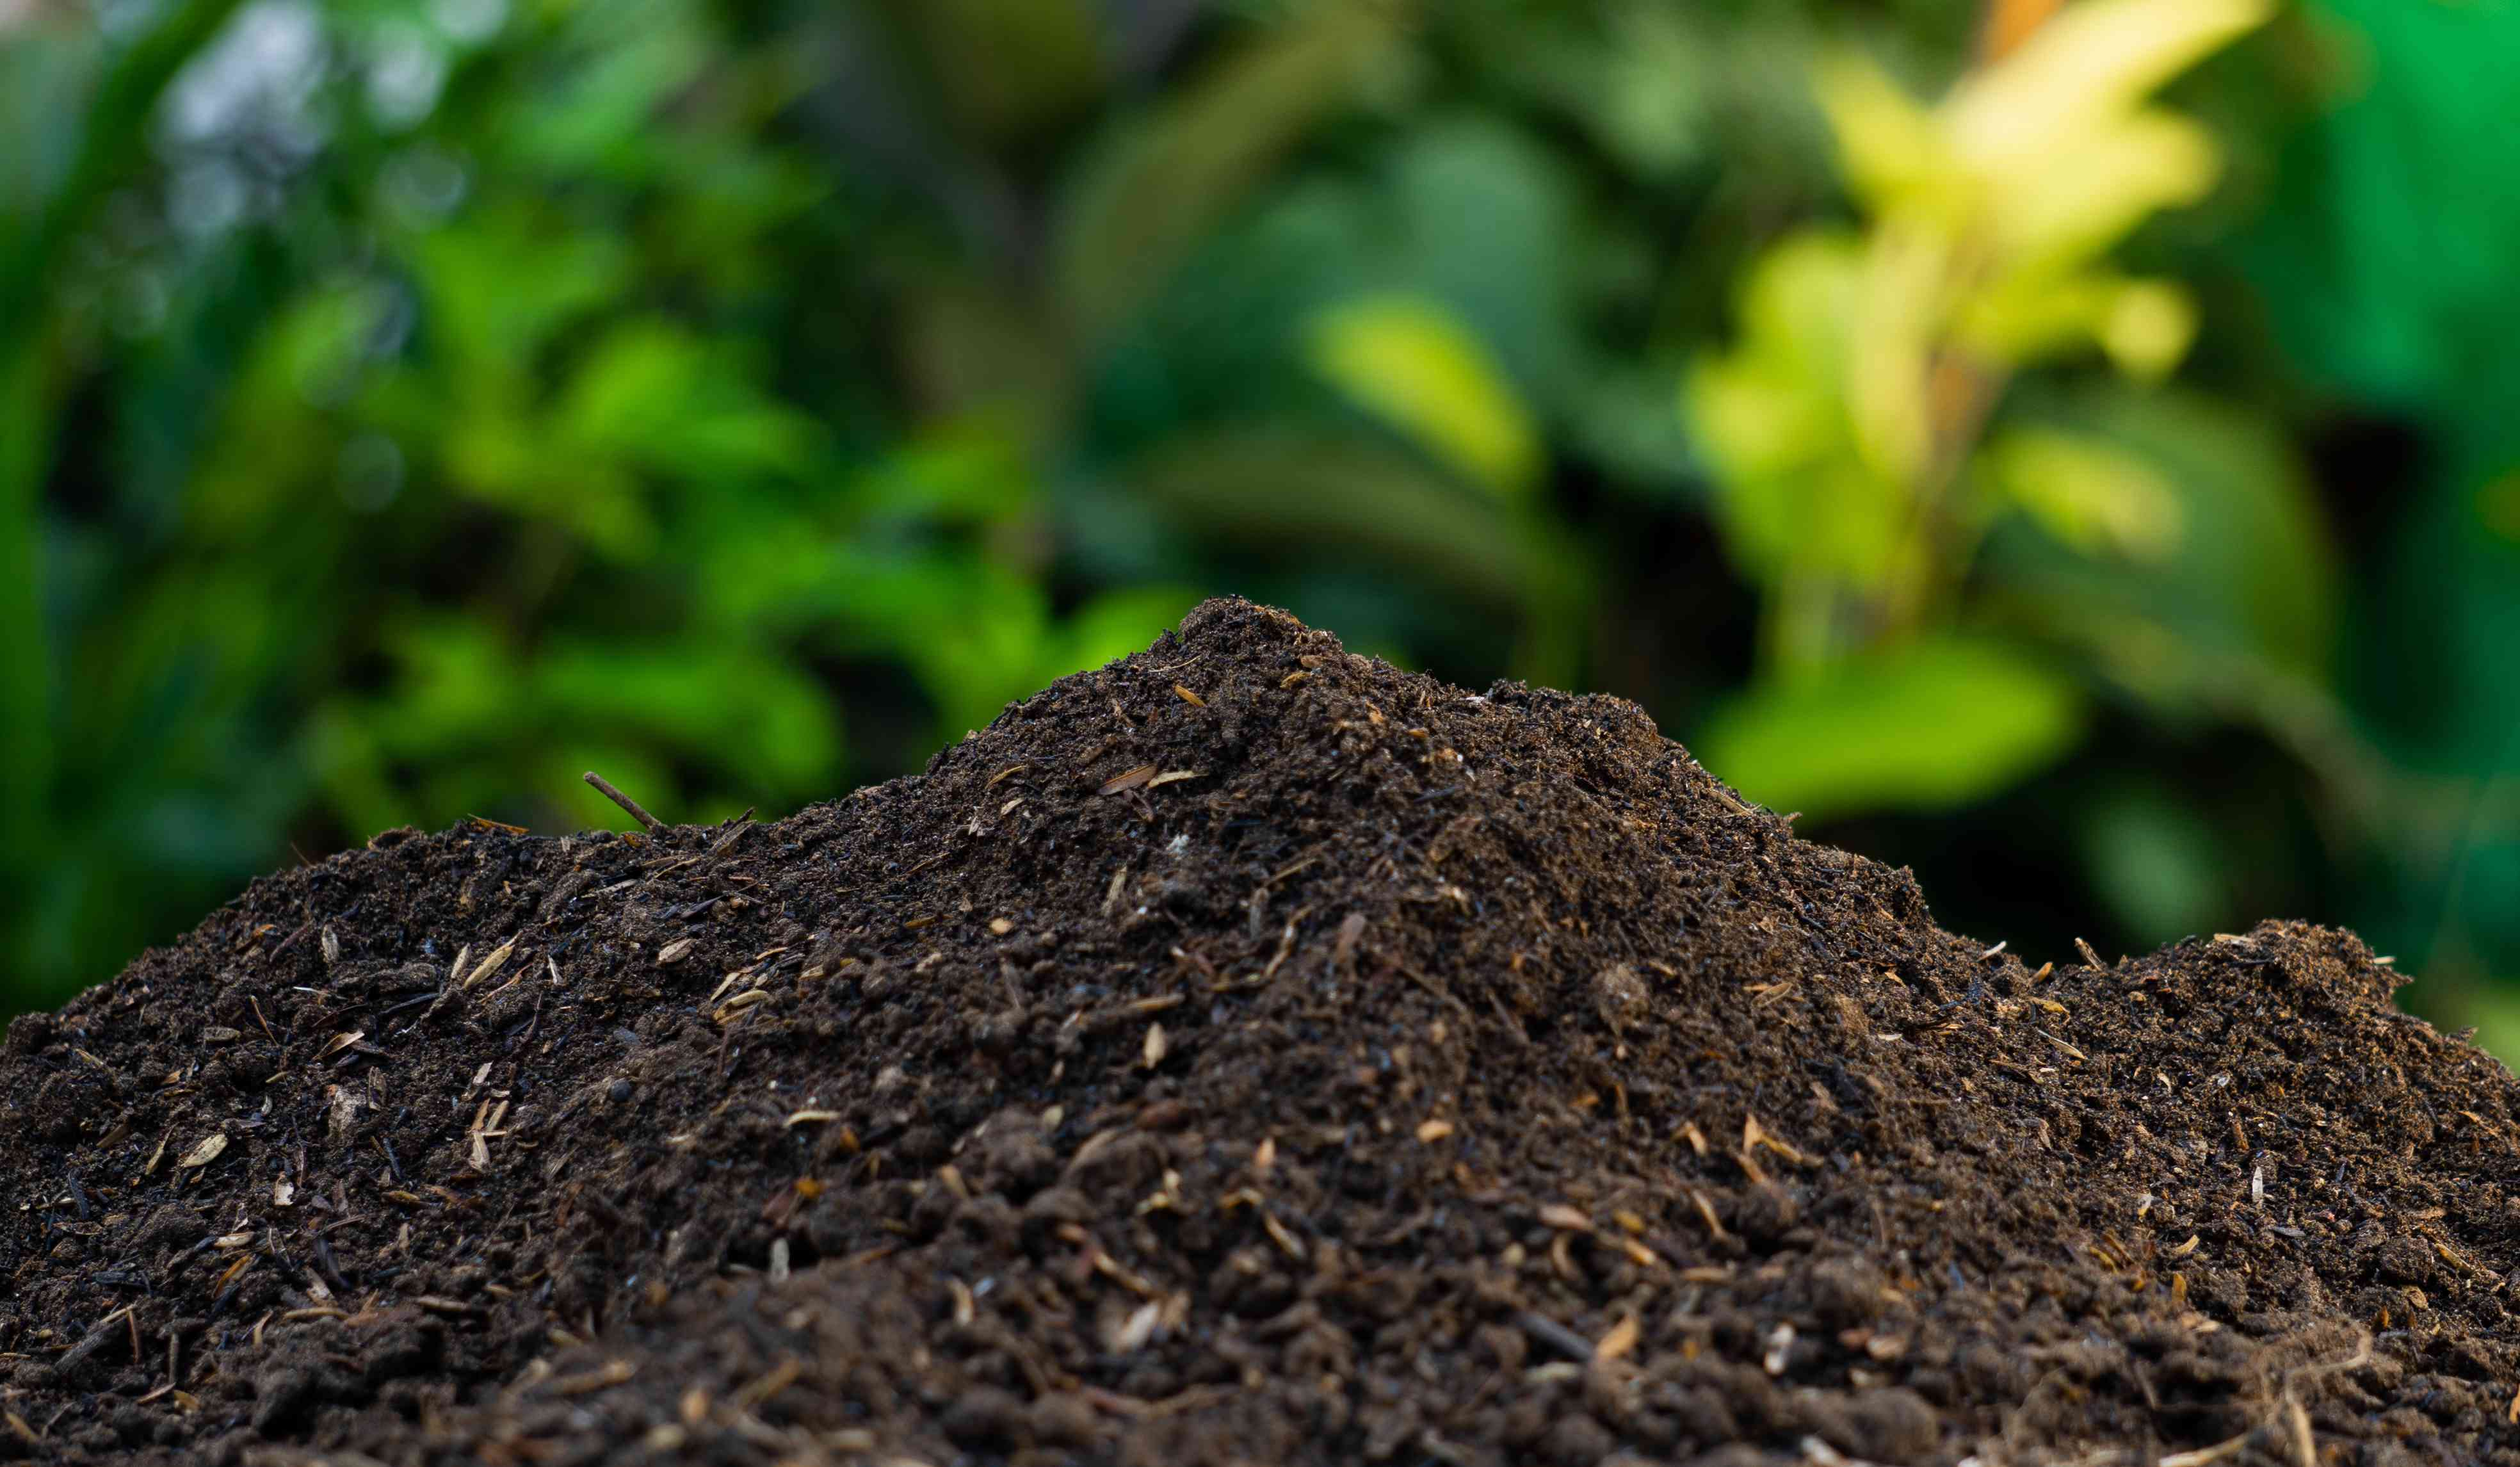
The materials in the finished compost should be homogenous and should be a rich dark brown color. The compost should also have a pleasant smell similar to the earthy floor of a forest.
You can either use this compost right away or let it sit for a few weeks or even months to develop more life.
Cold composting: a great way if you have the time.
Cold composting can be as easy as creating a big pile and leaving it there for months until it breaks down.
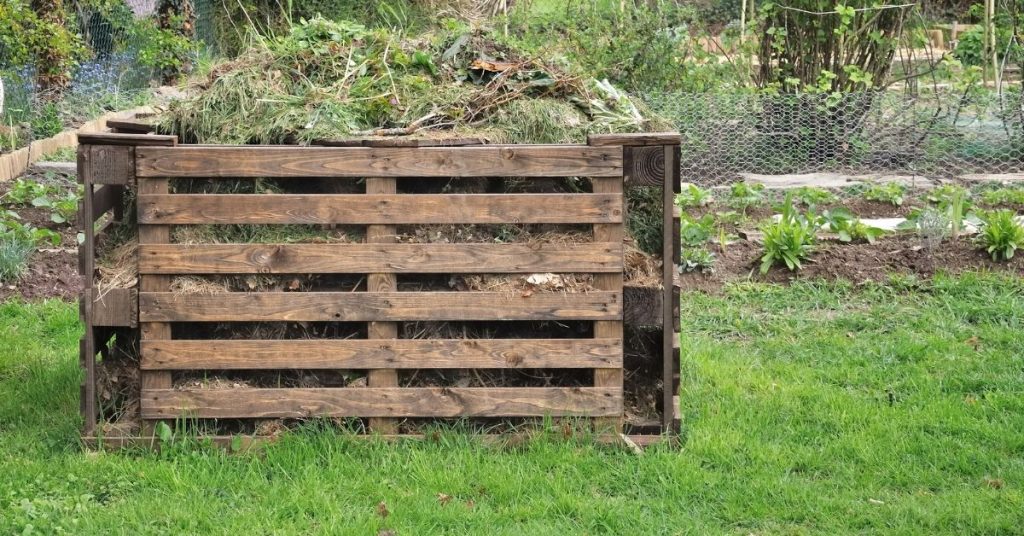
Cold composting is how to make compost the lazy way, but it takes a bit more time.
It can take anywhere from 6 months to a year. Sometimes it can take longer depending on how large your pile is and your climate.
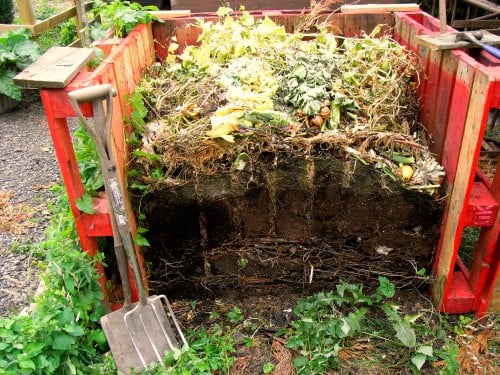
Another way to create a cold compost pile is to continually add materials.
Then harvest the mature compost from the bottom as it becomes ready to use.
Some call cold composting the anaerobic way to compost because it doesn't really involve much air - just time.
However, adding air helps to speed up the process, so you could mix the pile with a pitchfork whenever you add new materials into the pile.
Be aware that cold composting does not kill weed seeds, weed
roots, or disease pathogens so that could become a problem later.
If you want to add weeds into your cold compost pile, don't add weeds that have already gone to seed or their roots.
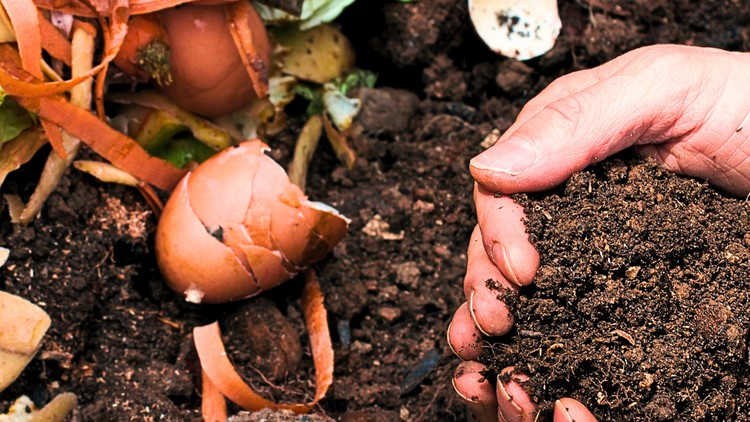
Sometimes cold composting will produce a coarser compost with bigger pieces of material. However, some believe there will be more microbes and life left in a cold compost pile.
Composting tips: different ratios, diversity of ingredients, and finished compost.
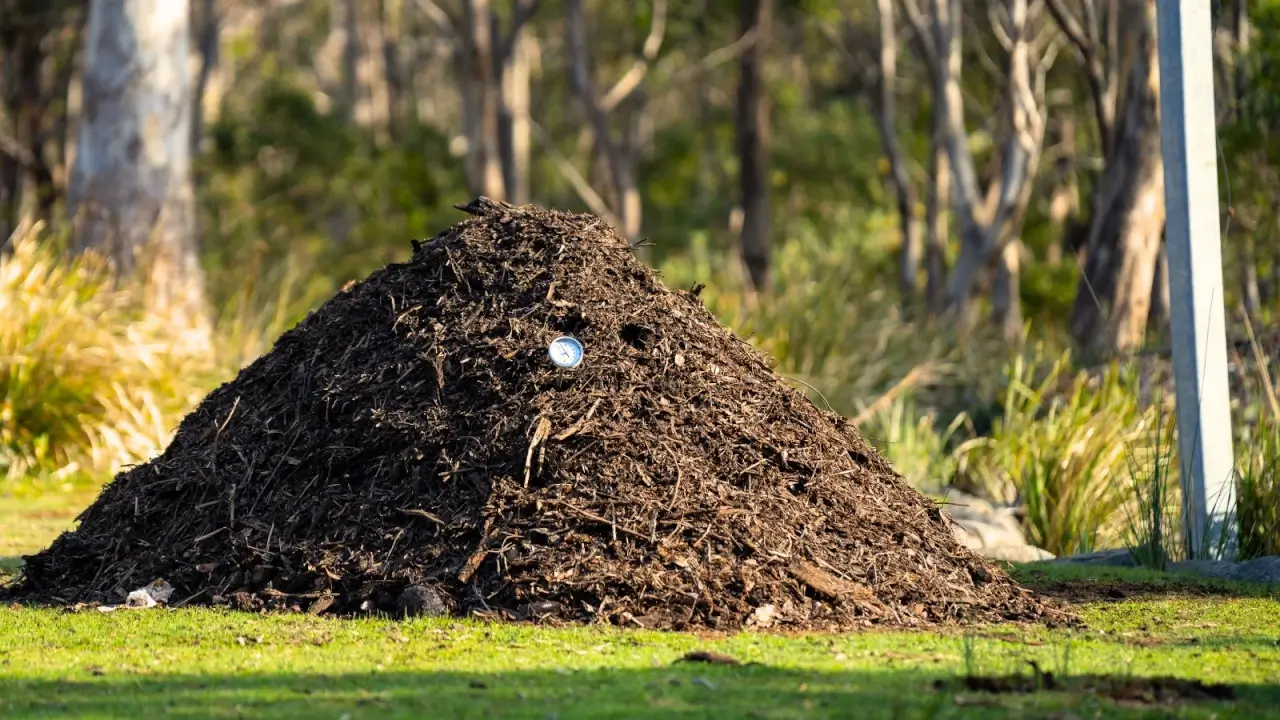
It's important to keep your compost pile in a dry area where water does not pool to keep your compost from becoming anaerobic. You must also control the amount of rain that gets into your compost pile.
- Don't build your compost pile in a weedy area or they could seed your compost which is something you don't want to happen.
- Also, locate your compost in an area that won't be a problem for your neighbors because sometimes it will smell for a little while.
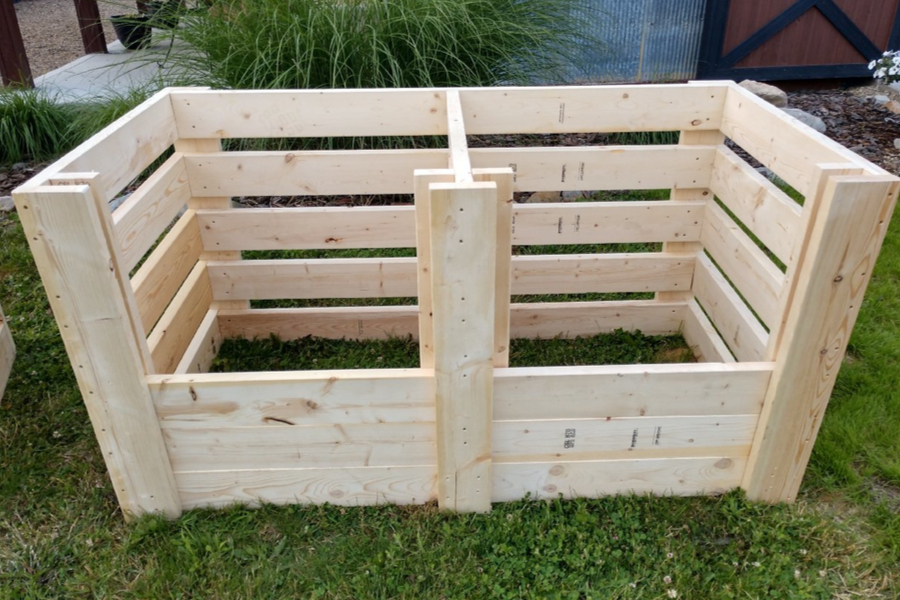
Putting your compost into a bin is how to make compost that will retain more form and heat.
Build a simple bin with pallets or extra wood that you may have laying around.
Having more than one bin right next to each other will make it much easier to turn your compost.
- Some people prefer a wire compost bin made from hardware cloth or wire fencing to hold their compost pile together.
- And some prefer to buy a ready-made composting bin from a big box store.
If you use a bin or any sort of composting vessel - have it connected to the ground. That way worms will make their way into the pile which is a great way to create higher quality compost.
You can try different ratios of brown to green.
As discussed earlier, a compost pile that is 50% brown to 50% green is pretty close to the ideal 30 to 1 carbon to nitrogen ratio. That is how to make compost without having to think too much.
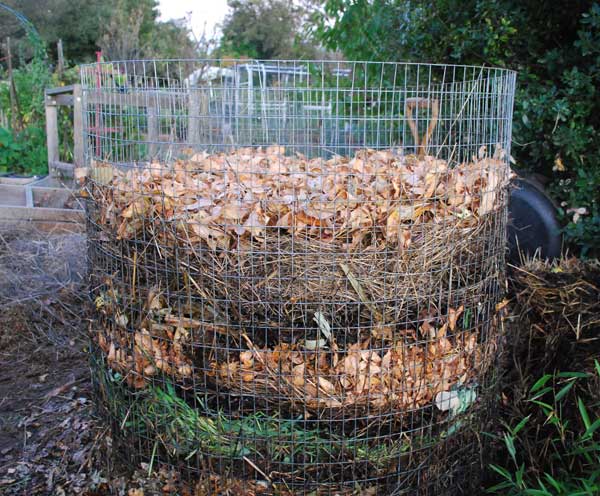
However, some prefer using more brown materials than green and some people prefer using more green than brown.
It's something you will have to decide for yourself with the materials that you have on hand. The results of the finished compost will let you know if it was a good choice.
Just remember, you can always adjust your compost pile later.
- If you added too many browns, your pile is probably not heating up or is probably too dry. Just add more greens and maybe some water.
- If you have too many greens, your pile may get too wet and start smelling bad. Just add more brown material.
Different seasons will provide different materials for you to use in your compost pile.
During spring time there will be more green materials available. Summer provides a good balance of brown and greens for you to
use in your compost pile.
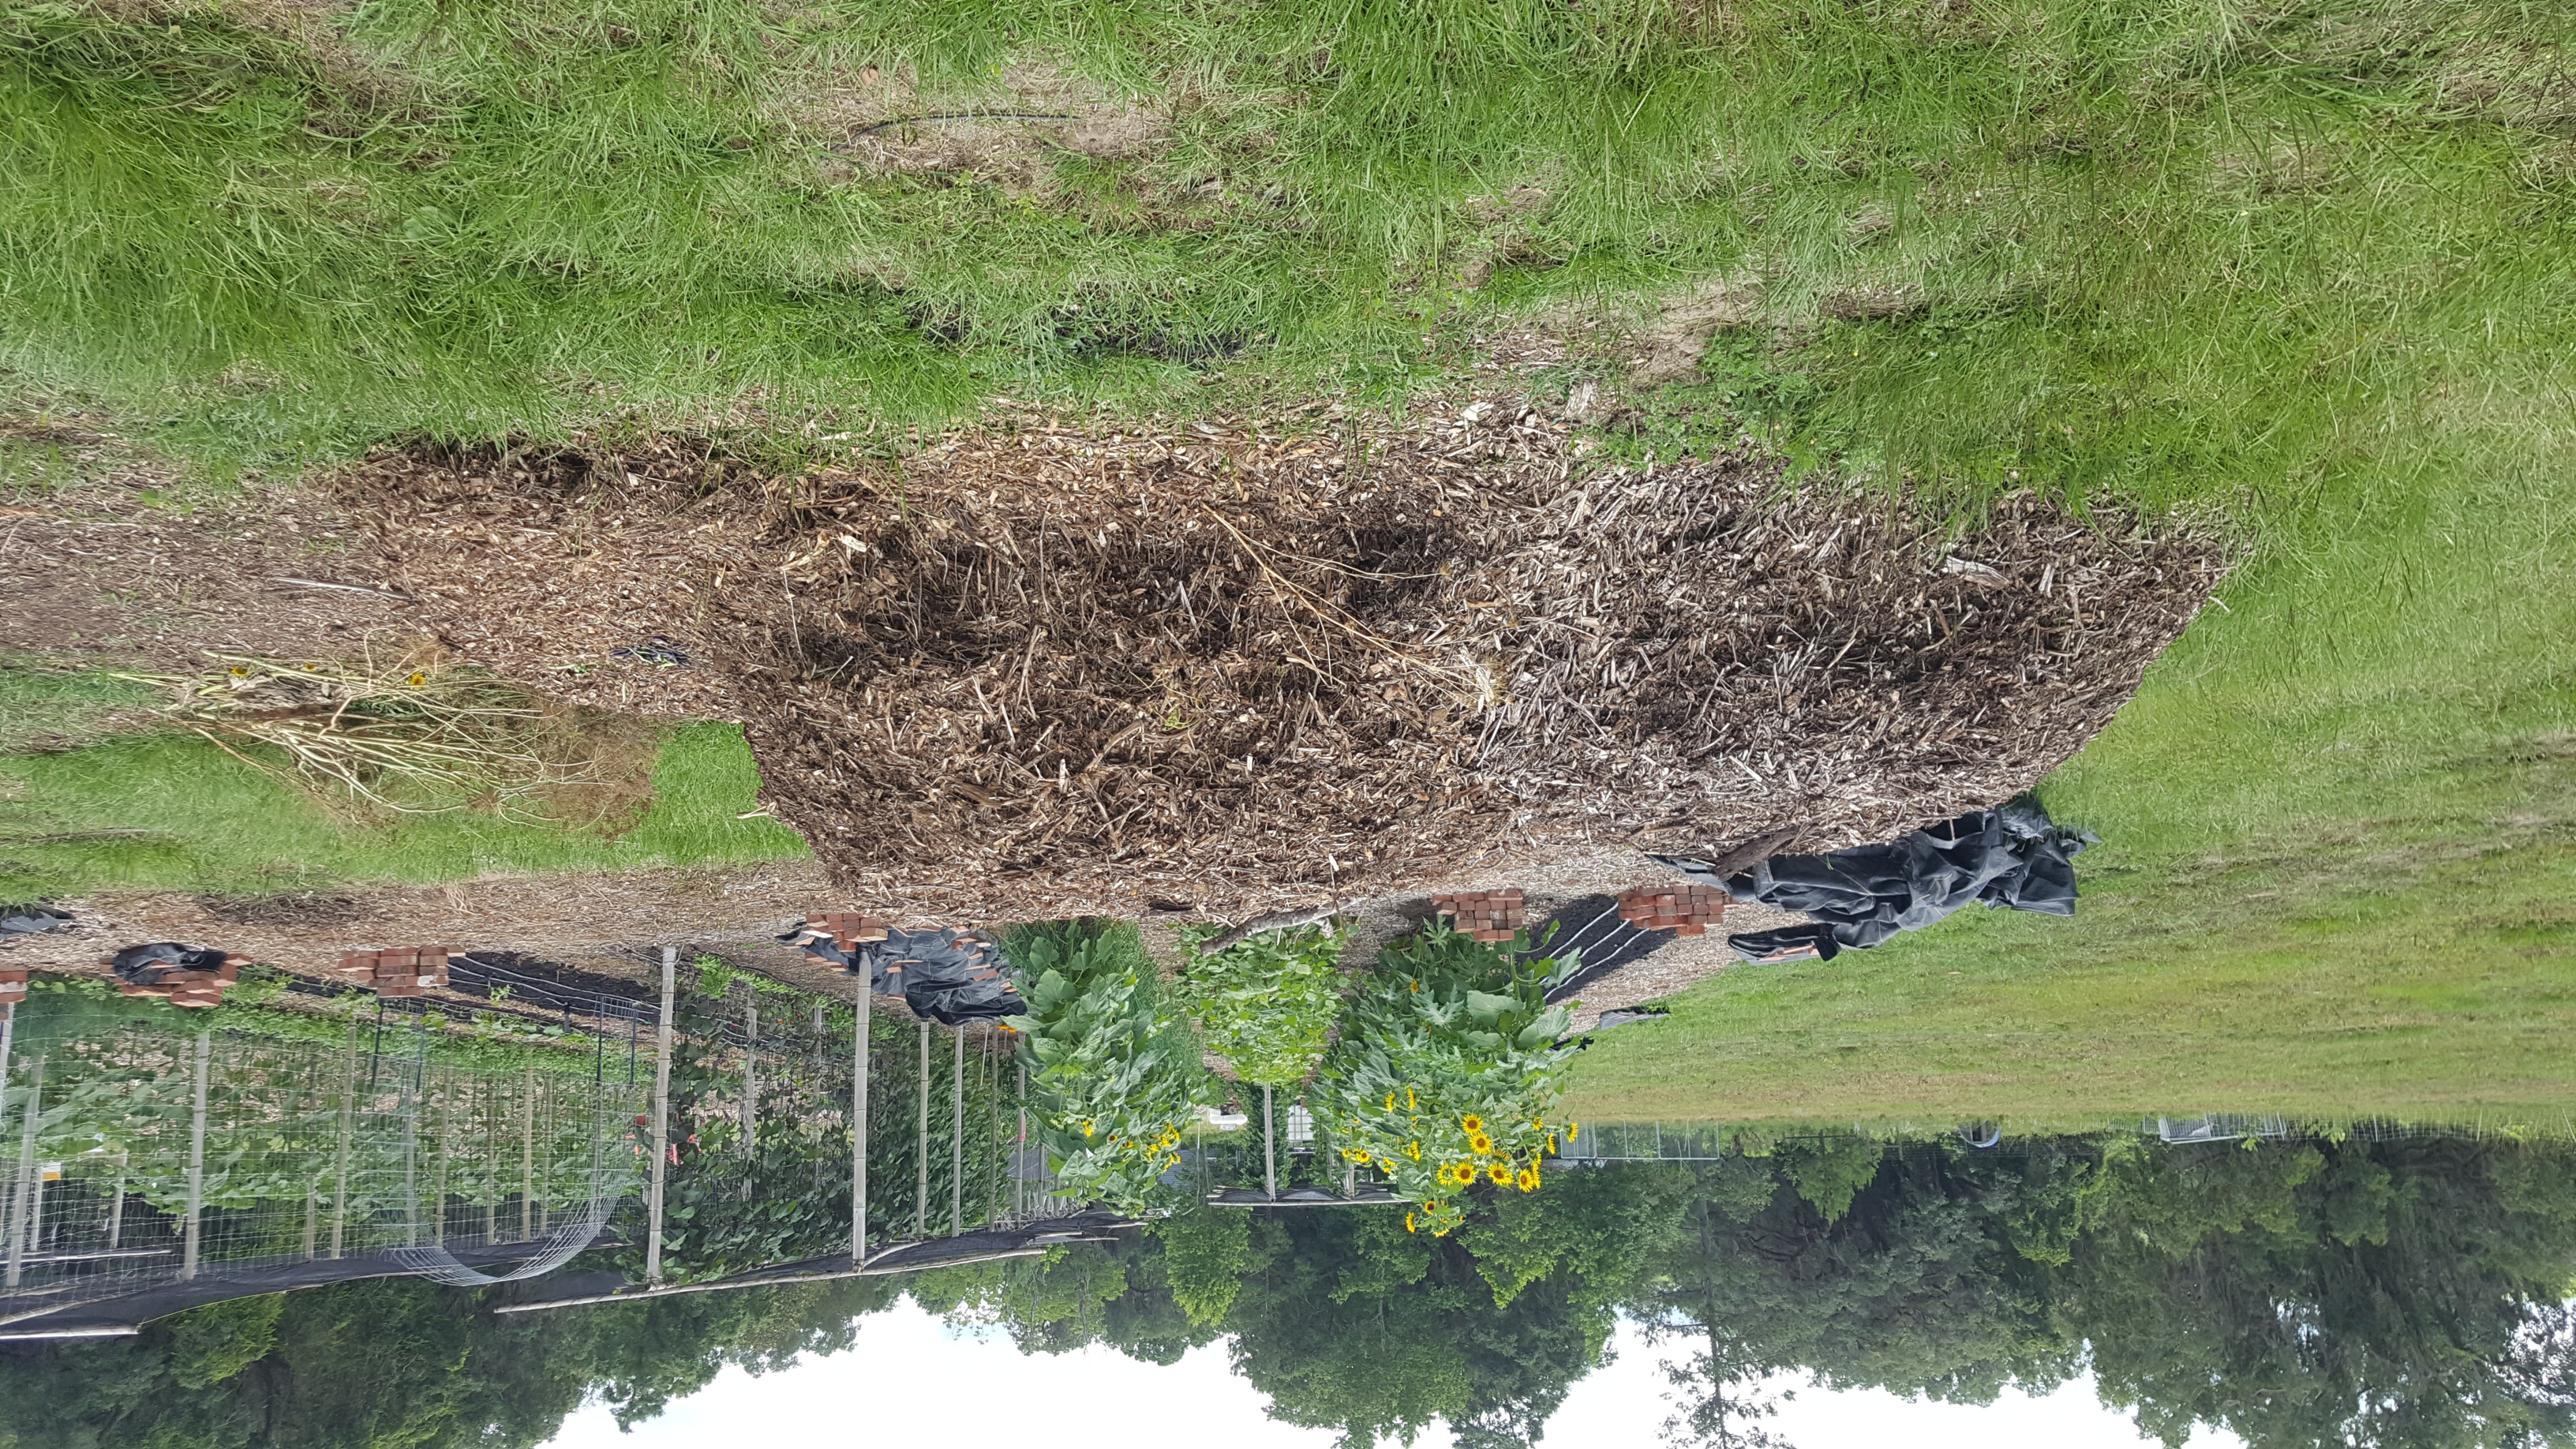
After a big growing season, that's a great time to make compost with all the refuse that's left over. We just layered wood chips and garden refuse to make this compost pile.
We were in Florida at the time, so we were able to plant year round.
I just wished we had used the Berkeley method instead of waiting on our compost piles to breakdown - slowly.
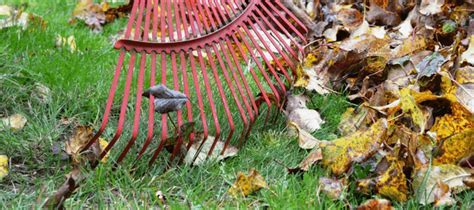
In Northern climates, fall will have more brown materials. It's a great time to collect leaves from deciduous trees that drop their leaves.
- Winter is usually a very brown time because that is when plants die because of very cold weather.
However, in Southern and warmer climates you will have some green materials available during winter time.
Use a diversity of ingredients and kick start your compost pile.
Just know that not all composts are created equal. What you decide to put into your compost pile will make a difference.
Did you know a diversity of ingredients will generally make a better compost?
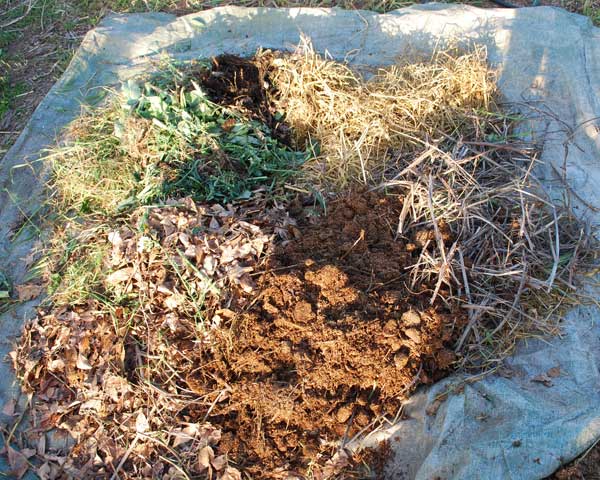
It's good to change up the browns and greens to provide the most nutrients for your compost pile.
Diversity is important if you want a variety of minerals. Using a diversity of browns and greens will also create a diversity of microbes in the compost pile.
Be sure to also add in different textural elements to avoid an anaerobic problem.
Tips on how to make compost quickly: your ingredients matter and how big your compost pieces are also matters.
The larger, the longer it will take to breakdown. Shred browns and greens down as much
as possible to speed up the process, but leave enough texture to prevent compaction.
Make your compost pile big enough, add enough moisture, and turn your pile enough to aerate which helps multiply the micro-organisms.
A safe temperature range for the bacteria and fungi in a hot compost pile is usually between 131 and 149 degrees F.
Every few layers, think about adding an activator like worm castings, previous compost, or some manure.
This inoculates your compost similarly to making a ferment which accelerates the whole process.
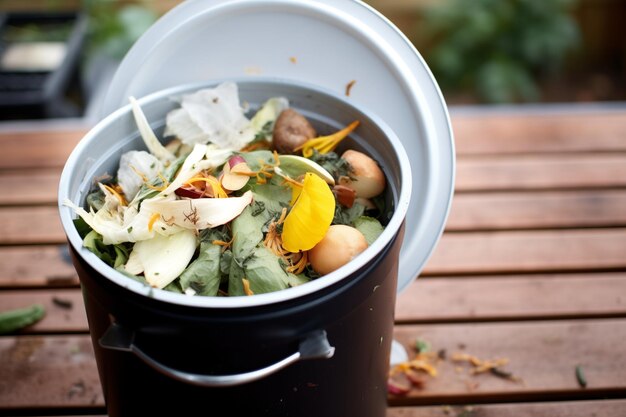
Another way to kick start your compost, is to add a kicker such as food scraps, a whole fish, or wet fresh cut green grass to the very middle of your compost pile.
Finished compost: make sure the compost has decomposed before using.
Please make sure your compost has broken down enough before using it in your garden or it may steal nitrogen from your plants.
When compost hasn't adequately decomposed it continues to breakdown and uses nitrogen that's available in soil to help with the decomposition process.
And your plants will suffer, just like our corn did!
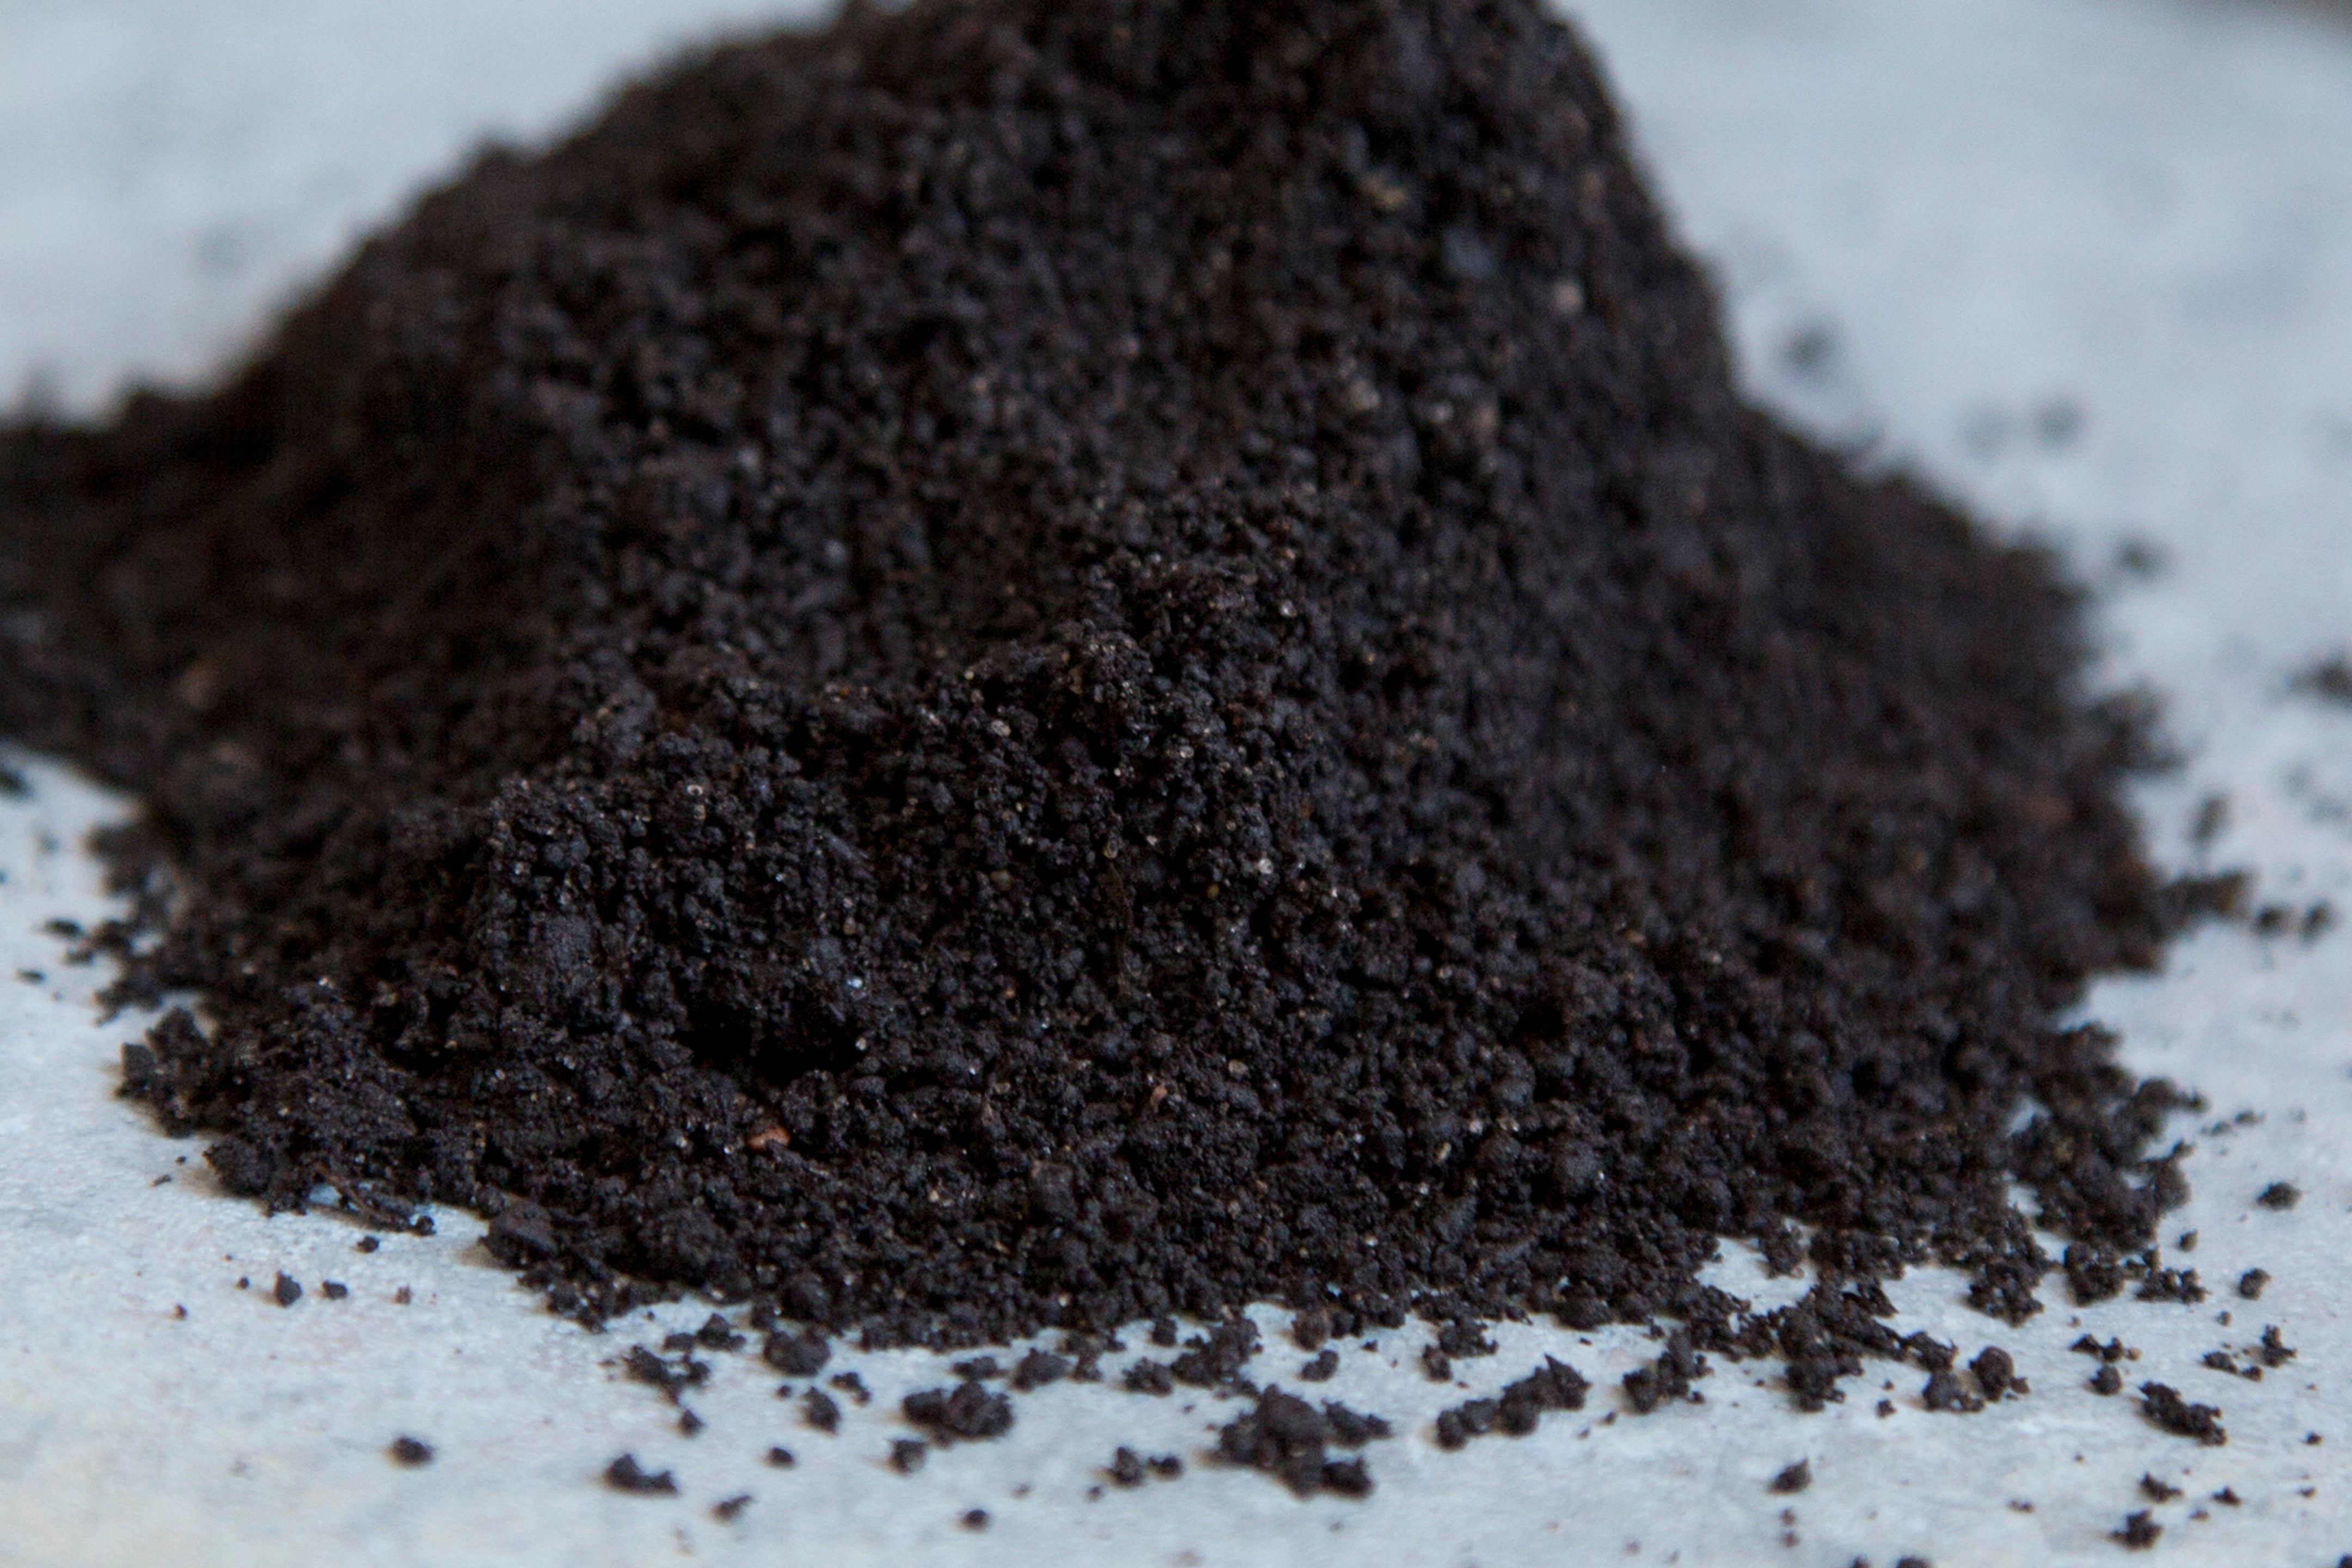
The color of compost should not be jet black or that could mean your compost got way too hot.
Also, there may be a lower amount of beneficial microbes in jet black looking compost.
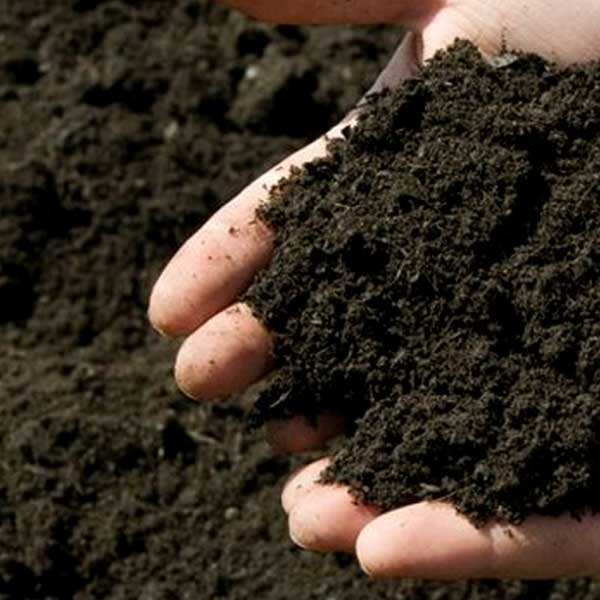
Finished compost should easily form a clump and break up easily.
The perfect finished compost will have a rich dark brown color similar to a 70% dark chocolate bar.
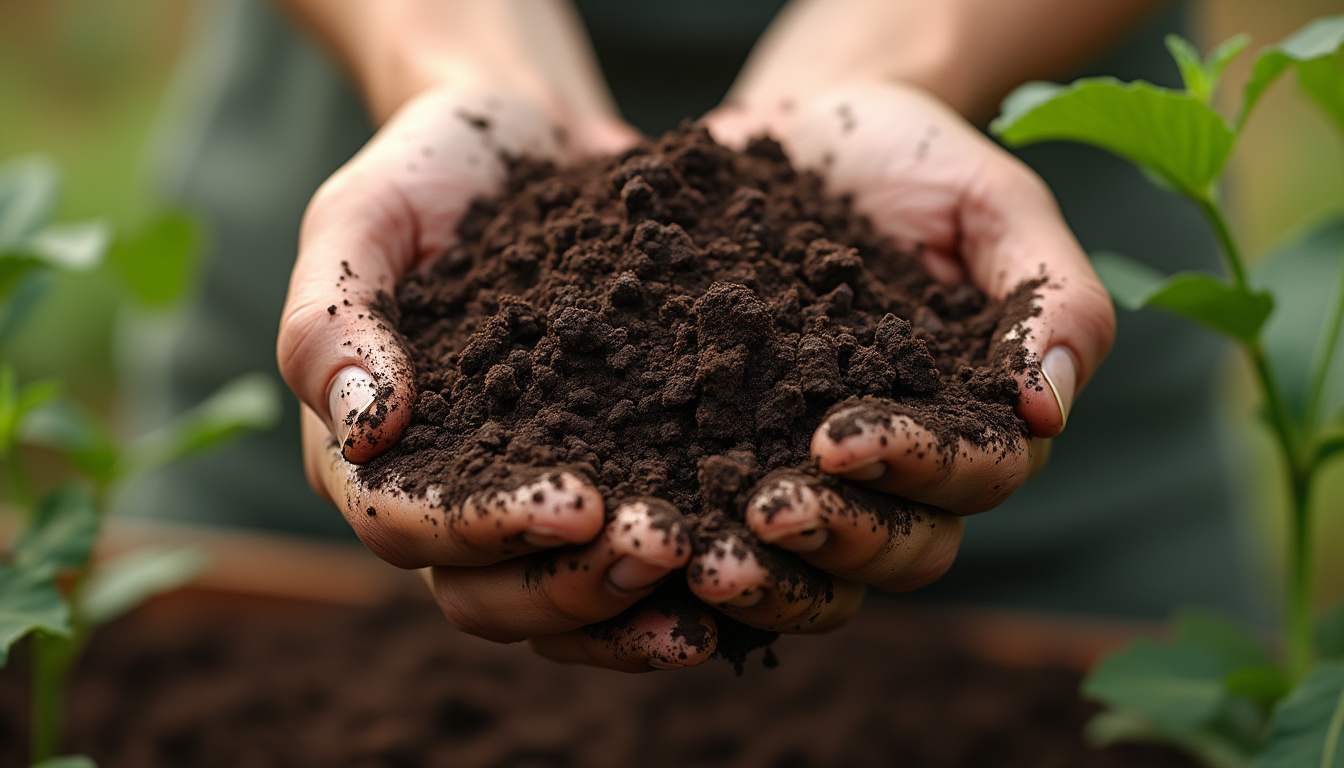
Finished compost also has a rich and pleasant earthy smell - it should not smell like raw manure or rotting wastes.
- You shouldn't be able to hardly identify any of the original materials.
If you have woody pieces left in the compost, you can sift the compost if you want. The longer you let it mature, the more it will breakdown.
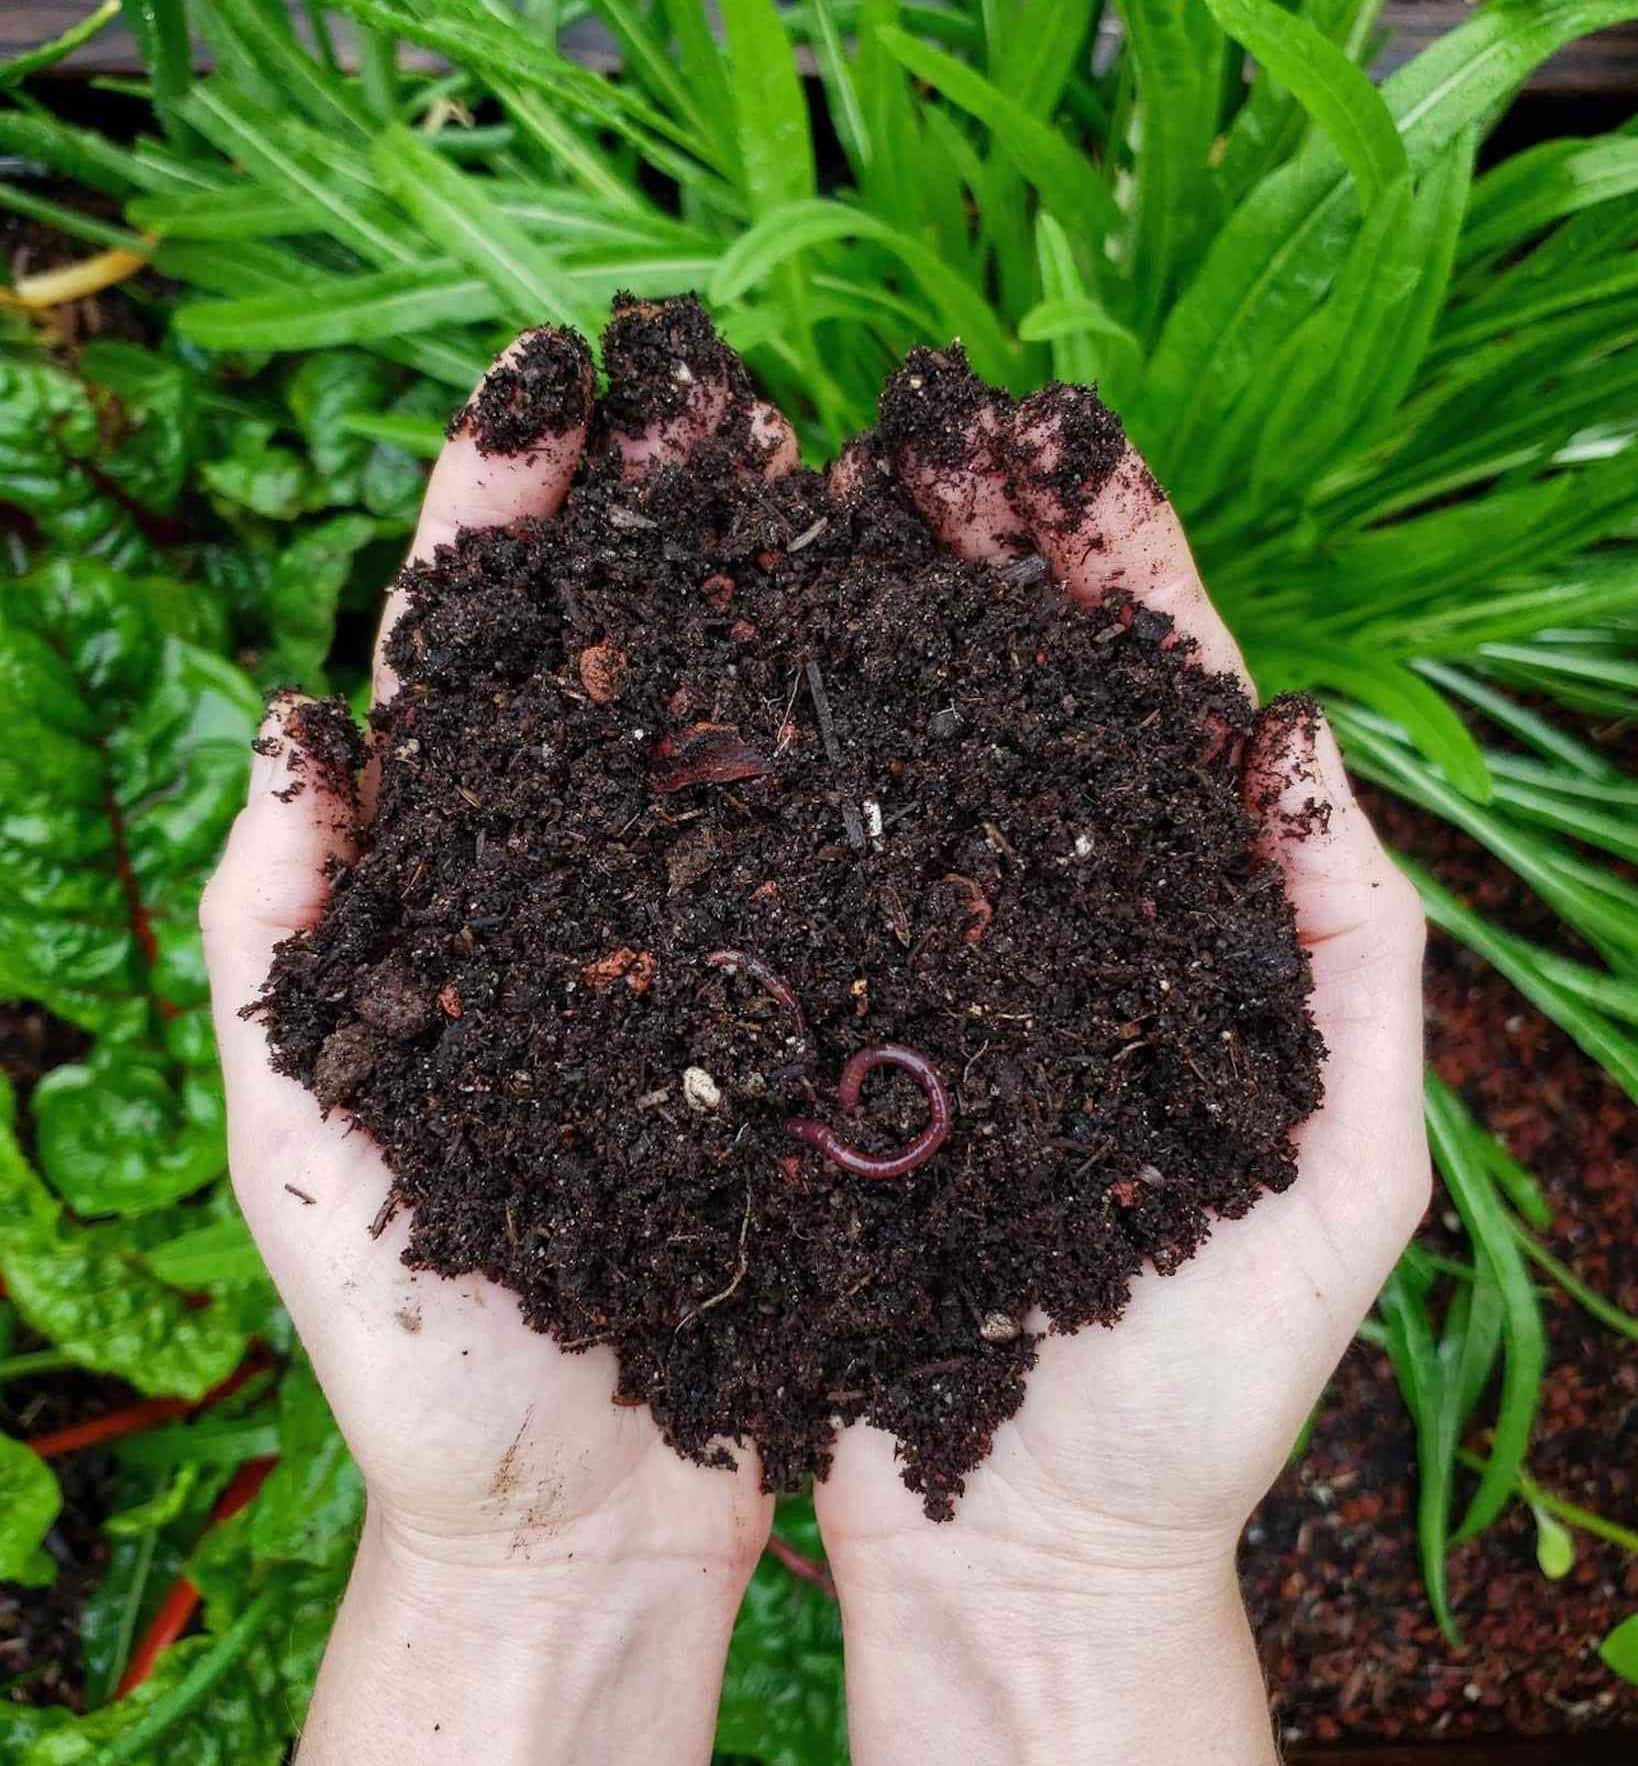
Compost will improve kind of like fine wine does as it ages.
If your lucky, earth worms will move into the pile and their poop will add nutrients to your compost.
You'll end up with worm castings which some people refer to as black gold.
Worm castings are that valuable!
If you decide to let your compost age, be sure to monitor the moisture level and you will need to protect it from the hot sun and cold weather.
As you can see, there are many different ways to be successful with the art of making compost. Give cold compost and hot compost methods a try - to see what works best for your lifestyle and garden.
- Home
- Nutrient Dense Foods
- How to Make Compost
Resources
1. The Rapid Composting Method by Robert D. Raabe, University of California https://vric.ucdavis.edu/pdf/compost_rapidcompost.pdf
2. Making Awesome Aerobic Compost - Fast! by Richard Perkins, July 11, 2017 https://www.youtube.com/watch?v=EuN_kbQ1oaA
3. How to Make Hot Compost (Start to Finish) by Epic Gardening, September 27, 2022 https://www.youtube.com/watch?v=XOu60D6VGqc
4. Composting for Beginners/A Market Gardener's Guide by No-Till Growers, March 26, 2023 https://www.youtube.com/watch?v=6Ti5g-AZiTs
5. How To Make Compost In 18 Days Using The Berkeley Hot Composting Method, https://deepgreenpermaculture.com/2010/05/08/hot-compost-composting-in-18-days/, by Angelo May 8, 2010


